by Steve Sorbo | Jan 2, 2024 | Uncategorized
Many people use screenshots to clip portions of their Mac screen for later reference. For example, you could save a screenshot of an error dialog to show tech support, store a confirmation number from a Web page, or keep a chat from social media. You can even record screen movies to show a developer how their app is misbehaving.
Years ago, Apple introduced a floating control bar that makes accessing features for taking screenshots and recording screen movies easier. The hardest thing about using the control bar is memorizing its keyboard shortcut: Command-Shift-5. (The even older shortcuts of Command-Shift-3 for full-screen screenshots and Command-Shift-4 for windows and portions of the screen also still work.)
Meet the Control Bar
Let’s take a quick tour of the control bar. The leftmost 🅧 button dismisses the bar (alternatively, press Esc). You can also drag next to the 🅧 to reposition the bar. You’ll use the following three buttons to take screenshots and the next two to record movies.
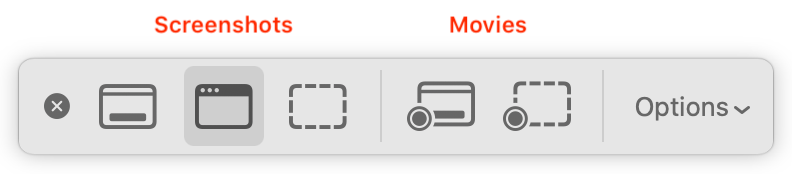
The Options button displays a pop-up menu. If you’ve selected a screenshot button, the menu offers screenshot-related choices; if you’ve clicked either movie button, you see recording choices.
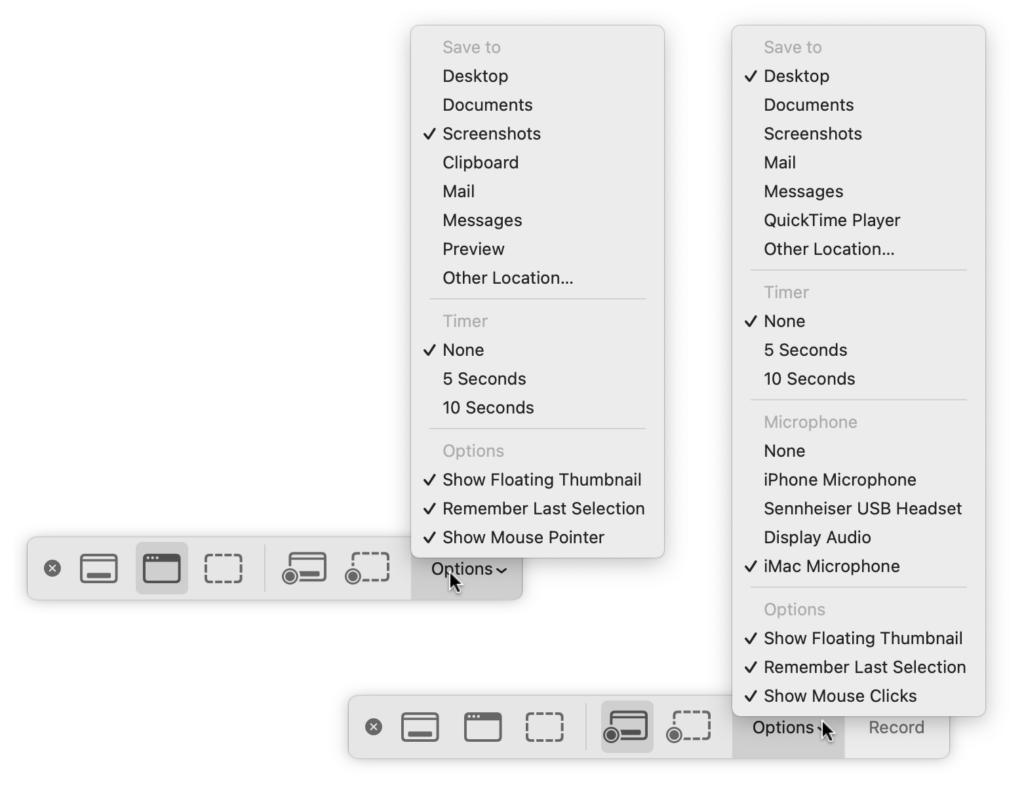
You may also see a Capture or Record button off to the right; more on them shortly.
Using the Options Menu
The top area of this menu, labeled Save To, enables you to choose a destination for screenshots or movies. By default, it’s set to the Desktop folder, which makes it easy to work with your screenshots right away, but your desktop can quickly get cluttered if you take a lot of screenshots. Feel free to choose Other Location and specify a folder of your choice, such as the Screenshots folder shown above.
If you choose an app like Mail, Messages, or Preview, a copy of your screenshot or movie will immediately appear in that app. For screenshots, you can also choose Clipboard to put a copy in the clipboard so you can paste it. Holding down the Control key while capturing a screenshot also puts the screenshot in the clipboard.
The Timer options let you adjust something on the screen immediately before your screenshot or movie begins. You can choose a 5- or 10-second delay. Timers are handy for situations where invoking the control bar would change the screen in an undesirable way.
With movies, you can record your voice over the action on screen. Select the desired microphone in the menu.
The bottom portion of the menu offers special options:
- With Show Floating Thumbnail, a small icon of a screenshot or movie appears temporarily in the lower-right corner of the screen after you take it. In the case of a screenshot, you can click this icon to mark it up, trash it, or share it; for a movie, you can crop it (useful if the start or end aren’t what you want), play it, delete it, or share it.
- Remember Last Selection is a big help when generating a batch of screenshots or movies using the same selection rectangle.
- To make your pointer appear in your screenshot, choose Show Mouse Pointer, and for movies, to display a circle where you click, choose Show Mouse Clicks.
Taking a Screenshot
Here’s how to take each type of screenshot:
- Capture Entire Screen: Click the leftmost screenshot button
 and move the pointer off the control bar. Click the screen. (If your Mac has multiple screens, click the one you want.)
- Capture Selected Window: To limit your screenshot to just one standalone interface element—a window, dialog, or menu—click the second button
 and then click the desired item. If you want to capture a dialog separately from an app window behind it, press Command and move the pointer over the dialog. (To eliminate the drop shadow, press and hold Option as you click.)
- Capture Selected Portion: To take a screenshot of an arbitrary portion of the screen, use the third screenshot button
 . Click it and then resize and reposition the selection rectangle over the desired area—note that it shows you the pixel dimensions of the selection. (Reposition the rectangle by moving it with the hand pointer that appears when you hover over it, and resize it by dragging any selection dot.) Finally, click the Capture button at the right of the control bar or press the Return key to create the screenshot.
The name of the resulting image will be “Screenshot” plus the current date and time. It will also be in PNG format. If you prefer JPEG format for all your screenshots, you can change the default by pasting the command below into Terminal. Change things back by repeating the command, replacing JPG with PNG.
defaults write com.apple.screencapture type JPG
Recording a Movie
The two screen recording buttons are also easy to use:
- Record Entire Screen: Click the first movie button
 and then the Record button at the right of the control bar. If you have two or more screens, clicking the Record button presents a menu from which you can choose which screen to record.
- Record Selected Portion: Click the second movie button
 , then resize and reposition the selection rectangle over the recording area, just as with capturing a selection for a screenshot. When you’re ready, click the Record button.
When it’s time to stop recording, if you see a stop button on the menu bar to the right of the current app’s menu items, click it. If it’s hard to find, press Command-Shift-5 to bring up the control bar again, which will now offer a stop button. Or just press Command-Control-Escape.

Movies are named “Screen Recording” plus the date and time and will be in QuickTime movie (.mov) format using the H.264 codec.
With screenshots and screen movies, the sky’s the limit for what you can capture or record, whether it’s a funny autocorrect chat mistake, an important reservation number, or a movie of a buggy app to share with tech support.
(Featured image uses a background by iStock.com/Altinosmanaj)
Social Media: Screenshots and screen recordings are helpful for capturing things that happen on your Mac screen for later reference. The macOS screenshot control bar makes it easy to take screenshots and movies, and our handy guide helps you work with it.

by Steve Sorbo | Jan 2, 2024 | Uncategorized
Happy New Year, and welcome to 2024! For many of us, starting a new year means reflecting on fresh habits we’d like to adopt. Although we support any resolutions you may have made to get enough sleep, eat better, exercise more, and reduce social media usage, allow us suggest a few more that will improve your digital security and reduce the chances that bad things will happen to you online.
Back Up All Your Devices
The most important thing you can do to stave off the slings and arrows of digital doom is to make regular backups. Bad things happen to good people, such as a Mac’s SSD failing, an iPhone accidentally falling off a boat, an Apple Watch breaking in a fall, or loss due to theft, fire, or flood. With a good backup strategy, you can recover from nearly any problem.
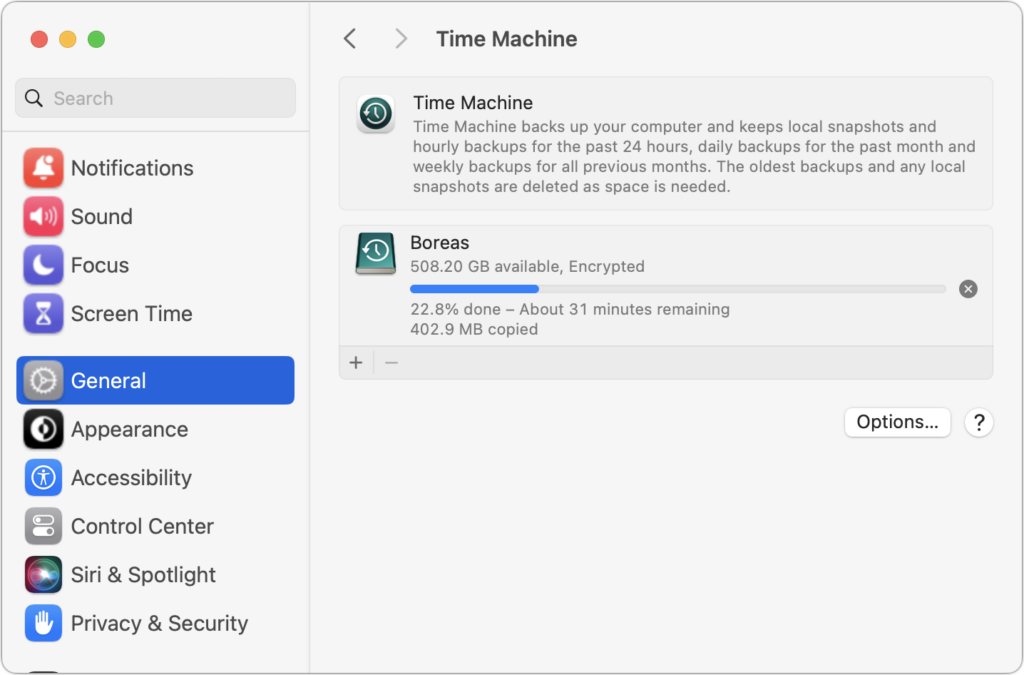
For the Mac, it’s easiest to back up with Time Machine to an external drive, but remember that an offsite or Internet backup is also essential. With iPhones and iPads, it’s easiest to back up to iCloud, which happens every night automatically if you turn it on in Settings > Your Name > iCloud > iCloud Backup, but you can also back up to your Mac if you don’t have sufficient iCloud storage space. Apple Watches automatically back up to their paired iPhones, so if you protect your iPhone, you can always restore your Apple Watch.
Keep Your Devices Updated
Another key thing you can do to protect your security is to install new operating system updates and security updates soon after Apple releases them. Although the details seldom make the news because they’re both highly specific and highly technical, you can get a sense of how important security updates are by the fact that a typical update addresses 10–30 vulnerabilities that Apple or outside researchers have identified. Some are even zero-day vulnerabilities that are already being exploited in the wild.
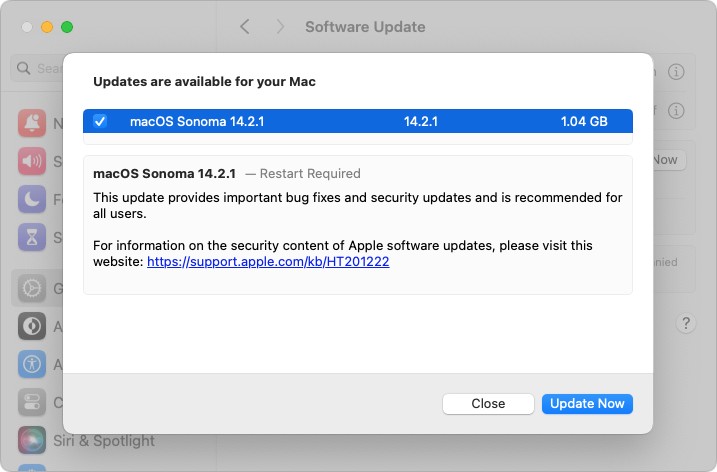
It’s usually a good idea to wait a week or so after an update appears before installing, on the off-chance that it has undesirable side effects. Although such problems are uncommon, when they do happen, Apple pulls the update quickly, fixes it, and releases it again, usually within a few days.
Use a Password Manager
We’ll keep banging the password manager drum until passkeys, the replacement for passwords, have become ubiquitous, which will take years. Until then, if you’re still typing passwords in by hand or copying and pasting from a list you keep in a file, please start using a password manager like 1Password or BitWarden. Even Apple’s built-in password manager and iCloud Keychain are fine, if not as fully featured as the others. A password manager offers five huge benefits:
- It generates strong passwords for you. Mypassword1 can be hacked in seconds.
- It stores your passwords securely. An Excel file on your desktop is a recipe for disaster.
- It enters passwords for you. Wouldn’t that be easier than typing them in manually?
- It audits existing accounts. How many of your accounts use the same weak password?
- It lets you access passwords on all your devices. Finally, easy logins on your iPhone!
A bonus benefit for families is password sharing. It allows couples to share essential passwords or parents and teens to share specific passwords.
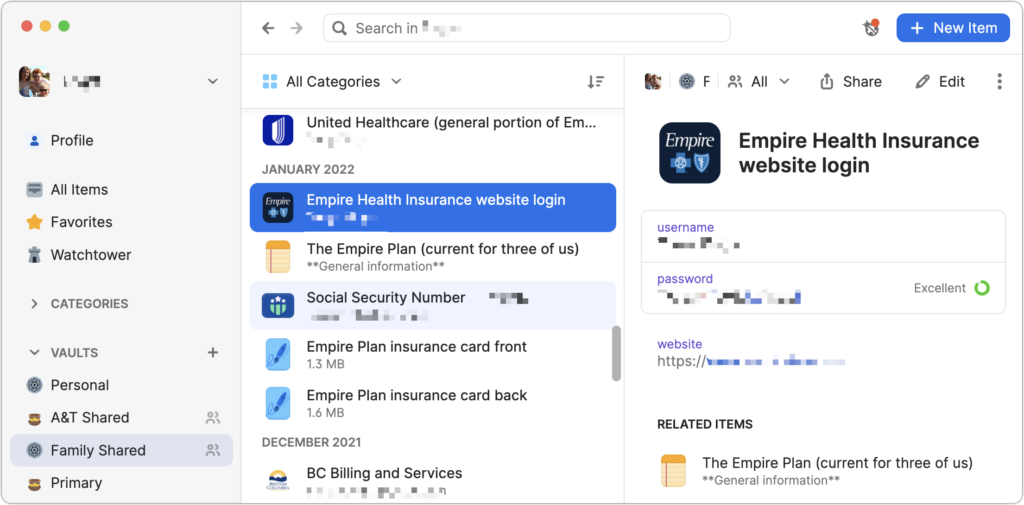
Using a password manager is faster, easier, more secure, and better. If you need help getting started, get in touch.
Beware of Phishing Email
Individuals and businesses frequently suffer from security lapses caused by phishing, forged emails that fool someone into revealing login credentials, credit card numbers, or other sensitive information. Although spam filters catch many phishing attempts, you must always be on guard. Here’s what to watch for:
- Any email that tries to get you to reveal information, follow a link, or sign a document
- Messages from people you don’t know, asking you to take an unusual action
- Direct email from a large company for whom you’re an anonymous customer
- Forged email from a trusted source asking for sensitive information
- All messages that contain numerous spelling and grammar mistakes
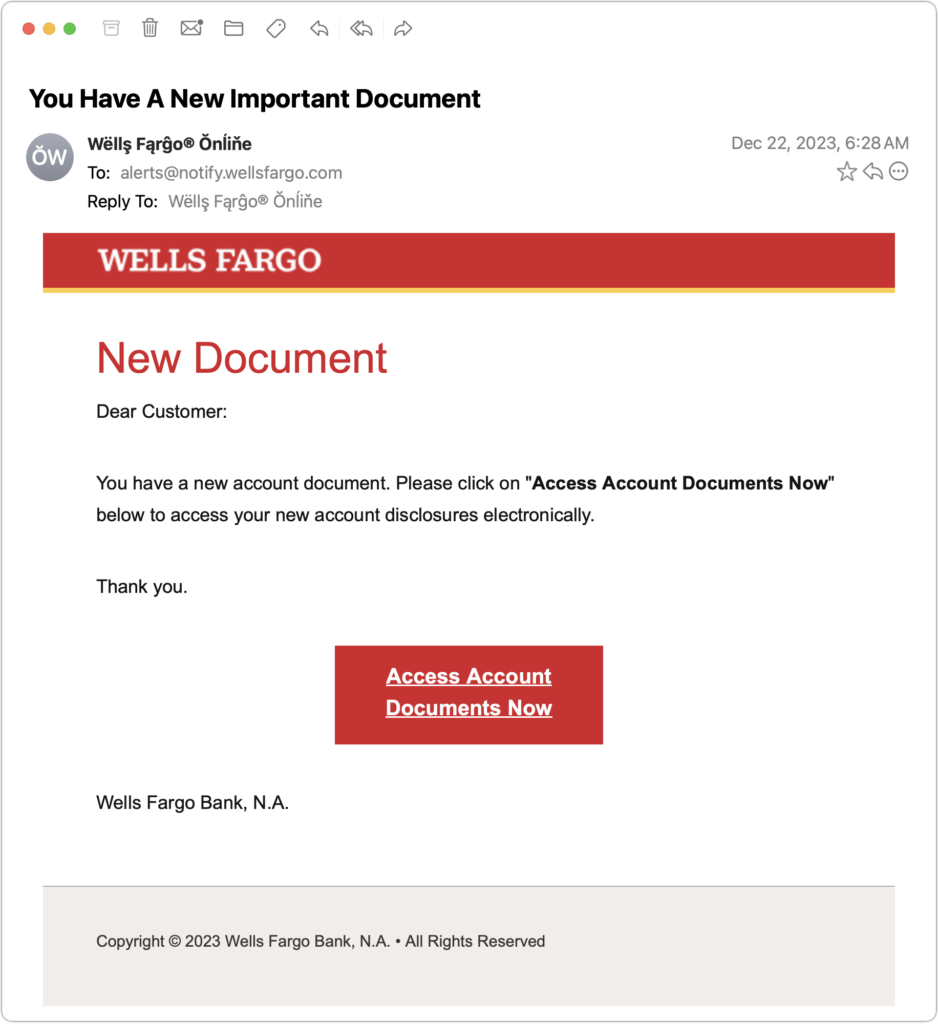
When in doubt, don’t follow the link or reply to the email. Instead, contact the sender another way to see if the message is legit.
Never Respond to Unsolicited Calls or Texts
Although phishing happens mostly via email, scammers also use texts and phone calls. Thanks to weaknesses in the telephone system, such texts and calls can appear to come from well-known companies, including Apple and Amazon. Even worse, with so much online ordering, fake text messages pretending to help you track packages are becoming more common.
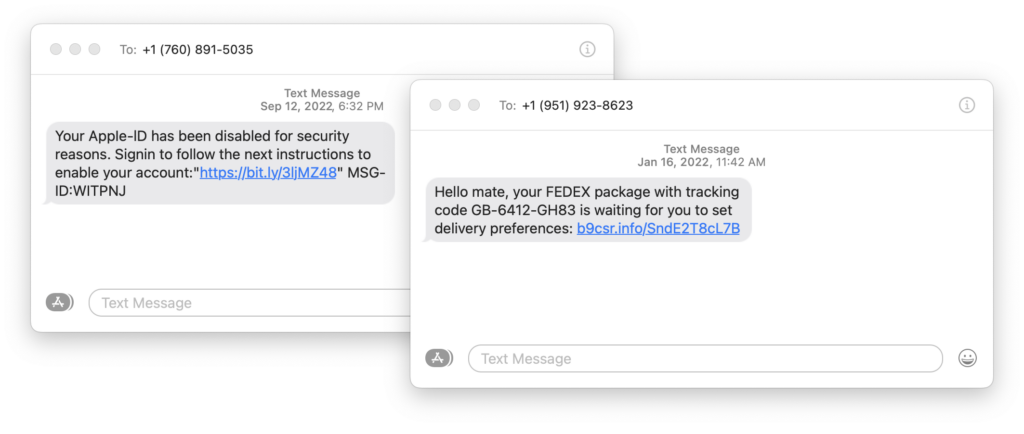
For texts, avoid following links unless you recognize the sender and it makes sense that you’d be receiving such a link. (For instance, Apple can text delivery details related to your orders.) Regardless, never enter login information at a site you’ve reached by following a link because there’s no way to know if it’s real. Instead, if you want to learn more, manually navigate to the company’s site by entering its URL, then log in.
For phone calls from companies, unless you’re expecting a call back from a support ticket you opened, don’t answer. Let the call go to voicemail, and if you feel it’s important to respond, look up the company’s phone number elsewhere and talk with someone at that number rather than the one provided by the voicemail.
Avoid Sketchy Websites
We won’t belabor this last one, but suffice it to say that you’re much more likely to pick up malware from sites on the fringes of the Web or that cater to the vices of society. The more you can avoid sites that revolve around pirated software, cryptocurrency, “adult” content, gambling, or sales of illicit substances, the safer you’ll be. That’s not to say that reputable sites haven’t been hacked and used to distribute malware, but it’s far less common.
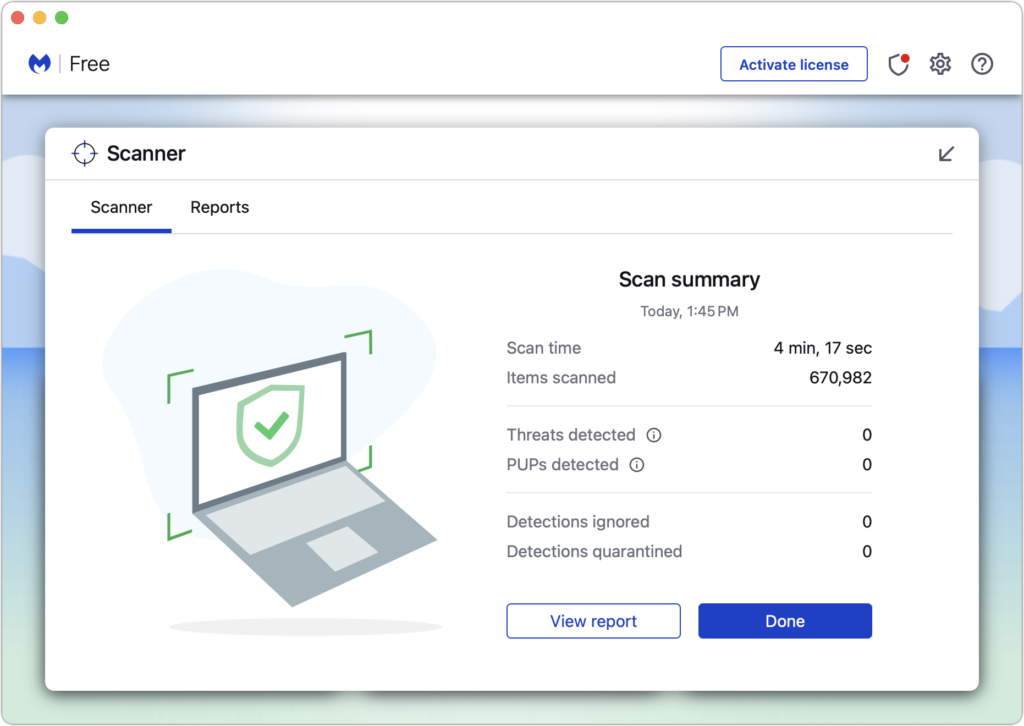
If you are concerned after spending time in the darker corners of the Web, download a free copy of Malwarebytes or VirusBarrier Scanner and scan for malware manually.
Let’s raise a glass to staying safe online in 2024!
(Featured image by iStock.com/Bet_Noire)
Social Media: Get ready for a safer 2024 with New Year’s resolutions that will help you secure your devices, avoid scams, block malware, and enjoy the security and ease of use of password managers.

Recent Comments