
by Steve Sorbo | Oct 1, 2024 | TCN Content
All those data breaches are coming back to haunt us. Once our phone numbers and addresses began to be leaked, it was only a matter of time before scammers would personalize their attacks to make them seem more real. The latest “sextortion” scams purport to have compromising video of you taken from your computer’s webcam, backing it up with your phone number and a Google Street View-like image that matches your leaked address. They make a lot of claims and dire-sounding threats, but talk is cheap, and there’s nothing behind them. Do not pay the scammers!

(Featured image by iStock.com/Thapana Onphalai)
Social Media: Scams are starting to incorporate personal information stolen in data breaches, so you may get “sextortion” threats that purport to know your phone number, address, and more.

by Steve Sorbo | Oct 1, 2024 | TCN Content
We’re big fans of the Mac’s window proxy icons, those little icons that appear in window title bars next to the filename. They’re not just cosmetic—you can use them just like the Finder icon for the open document. You can drag one to Mail to attach the document to a message, to a Web browser to upload it, or to any other location you can drag a document’s icon in the Finder. You can also drag a proxy icon for a folder from the title bar of its Finder window to Open and Save dialogs to navigate to the folder. In macOS 11 Big Sur, Apple hid the proxy icon until you moused over the filename, but starting in macOS 12 Monterey, the company provided an option to show them all the time. To enable it, select System Settings > Accessibility > Display > Show window title icons.

(Featured image by Adam Engst)
Social Media: People who like using the Mac’s window proxy icons (and if you don’t know about them, you should!) can make them visible at all times with an option deep within System Settings. Here’s how to find it and what you can do with proxy icons.
by Steve Sorbo | Oct 1, 2024 | TCN Content
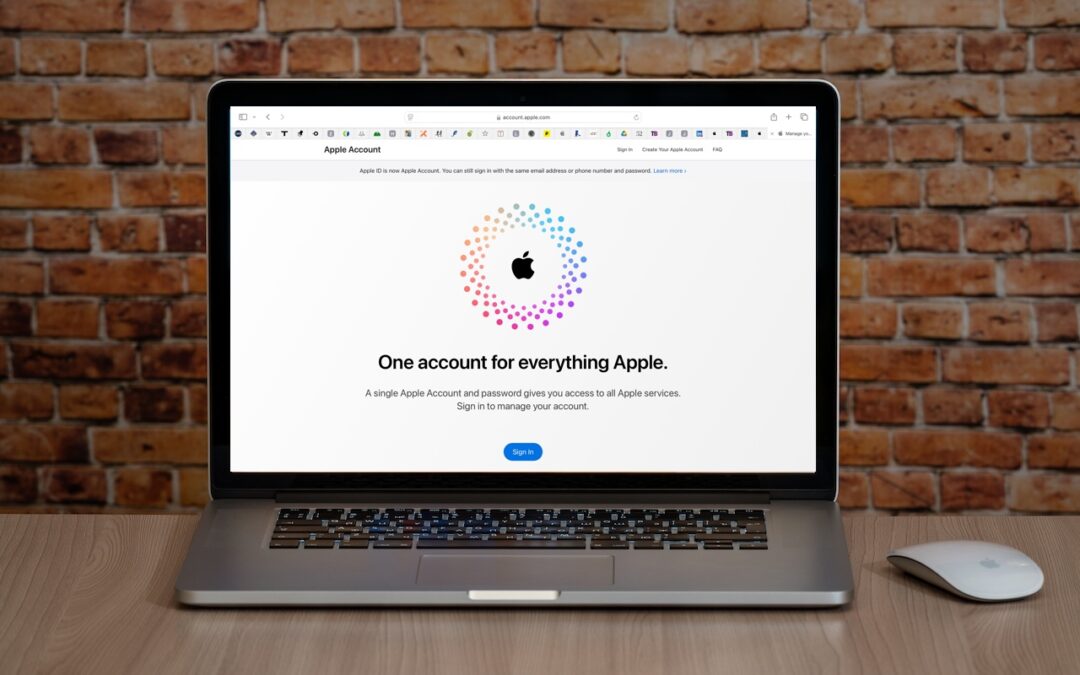
In macOS 15 Sequoia, iOS 18, iPadOS 18, and watchOS 11, Apple has officially renamed Apple ID to Apple Account. The new name is a slightly more sensible term because you can sign in to an Apple Account that holds your information, whereas an Apple ID was primarily an identifier—it’s an email address—that didn’t inherently imply that it stored data. The name change is mostly a distinction without a difference, but you should be aware of it when reading support documentation or tech articles. You’ll see the new term in System Settings on the Mac and Settings on the iPhone and iPad.

(Featured image based on an original by iStock.com/Armastas)
Social Media: Apple has renamed Apple ID to Apple Account everywhere as of macOS 15 Sequoia, iOS 18, iPadOS 18, and watchOS 11. Nothing has changed functionally, but keep it in mind when reading tech articles or support documentation.

by Steve Sorbo | Oct 1, 2024 | TCN Content
Do you worry about family members with whom you’re otherwise happy to share your iPhone passcode reading your private diary in a journaling app? Or perhaps you want to keep your child out of apps where they could cause mischief. A new feature in iOS 18 and iPadOS 18 lets you use Face ID or Touch ID to restrict access to specific apps, optionally hiding them in the process. Touch and hold the app’s icon on the Home Screen, and tap Require Face/Touch ID. When prompted, either tap Require Face/Touch ID to leave the app’s icon visible on the Home Screen but restrict access or tap Hide and Require Face/Touch ID to restrict access and hide the icon. Protected apps only open after you authenticate with Face ID or Touch ID; hidden apps can be accessed only from the Hidden folder in the App Library after authenticating. (To reach the App Library, swipe left repeatedly on your Home Screen, then scroll to the bottom to find the Hidden folder.)

(Featured image by iStock.com/SasinParaksa)
Social Media: Keep prying eyes—or mischievous children—out of sensitive or important apps by requiring Face ID or Touch ID access before the app opens. You can also hide such apps so they appear only after you authenticate.

by Steve Sorbo | Oct 1, 2024 | TCN Content
Although we’re still fans of 1Password, and there are plenty of other good password managers out there, like BitWarden and Dashlane, Apple has finally removed the last hurdle to using its built-in password management capabilities.
Starting in macOS 15 Sequoia, iOS 18, iPadOS 18, and visionOS 2, Passwords is now a real app rather than being trapped inside Safari, System Settings, and Settings. If you have resisted using a password manager or don’t wish to continue subscribing to an alternative, give Apple’s Passwords a try. It makes creating, maintaining, and entering passwords faster, easier, and more secure than doing it by hand. Those already using a password manager can export their accounts and import into Passwords.
What You’ll Find in Passwords
We’ll focus on the Mac version here, but the other versions are nearly identical apart from their screen sizes.

The left-hand sidebar, reminiscent of Reminders, provides categories of accounts:
- All: Select All to see all your accounts, regardless of what shared group they may be in.
- Passkeys: If you have any passkeys for large websites like Apple, Google, and others, they’ll appear here.
- Codes: Passwords can create, store, and enter two-factor authentication codes for sites that support them. If you need to look one up manually because Passwords couldn’t autofill it, you’ll find the associated account here.
- Wi-Fi: This category contains stored passwords for all the known Wi-Fi networks on your device. Because known Wi-Fi networks aren’t synced between devices, the number of these will vary between your devices.
- Security: If you have any accounts with weak passwords, accounts you previously shared and stopped sharing, or accounts whose passwords were leaked in a security breach, they’ll appear here. Edit these accounts and click the Change Password button to start the process; when the password changes, they’ll disappear from this category.
- Deleted: Any accounts you delete stay here for 30 days before being deleted for good. You can delete any of these accounts immediately or restore them to their previous group.
- Shared Groups: If you use Family Sharing, you automatically get a Family Passwords group to simplify sharing important accounts with your family members. But you can also share accounts with other groups of Apple device owners. To move an account to a group, choose it from the Group pop-up menu.
The middle pane lists the accounts in the selected category. You can sort the list using the menu with vertical arrows, search for a specific account, and manually add a new one with the + button. Otherwise, scroll through the list and click an account to view it in the right-hand pane.
At the top of the right-hand pane is an AirDrop button and an Edit button. Click AirDrop to share an account with someone nearby or Edit to make changes or set up a two-factor verification code. If you want to copy information, click the User Name, Password, Verification Code, or Website item to get a Copy menu. The password becomes visible when you mouse over it. Clicking Website also offers an Open Website option and lets you add more sites where the password should autofill.
Setup Requirements
Most people shouldn’t need to do anything to start using Passwords. However, if you have trouble, check the following items:
- Turn on Password AutoFill: If your device isn’t entering passwords for you, turn on AutoFill Passwords and Passkeys in Settings/System Settings > General > AutoFill & Passwords. Also, ensure that Passwords is enabled in the AutoFill From section if multiple password managers are installed.
- Turn on iCloud Keychain: If you want your passwords to sync securely among your devices, which makes life a lot easier, go to Settings/System Settings > Your Name > iCloud > Passwords and turn on Sync This Device.
- Set up iCloud Passwords for other browsers: Apart from Safari, Chromium-based Web browsers (Arc, Brave, Google Chrome, Microsoft Edge, etc.) can access and autofill your saved passwords if you install Apple’s iCloud Passwords Chrome extension. (There’s also now an iCloud Passwords add-on for Firefox.) The overall experience is not as seamless as in Safari, requiring a once-per-launch code, and you have to create new accounts in Safari or manually in Passwords, but it works.

- Configure settings: Choose Passwords > Settings (or look in Settings > Apps > Passwords for iOS 18 and iPadOS 18) to access options. Generally speaking, it’s fine to keep them all turned on.

If you have additional questions, check Apple’s documentation for detailed instructions for all the platforms on which Passwords runs. But realistically, Passwords is easy to use, and although the app itself is new, the underlying password management features and syncing have been in place for years, so they’re stable and reliable.
(Featured image by iStock.com/designer491)
Social Media: Apple’s new Passwords app in macOS 15, iOS 18, iPadOS 18, and visionOS 2 makes the company’s longstanding password storage and syncing features more straightforward and easy to use. It’s password management for the rest of us!

Recent Comments