by Steve Sorbo | Aug 1, 2024 | Uncategorized
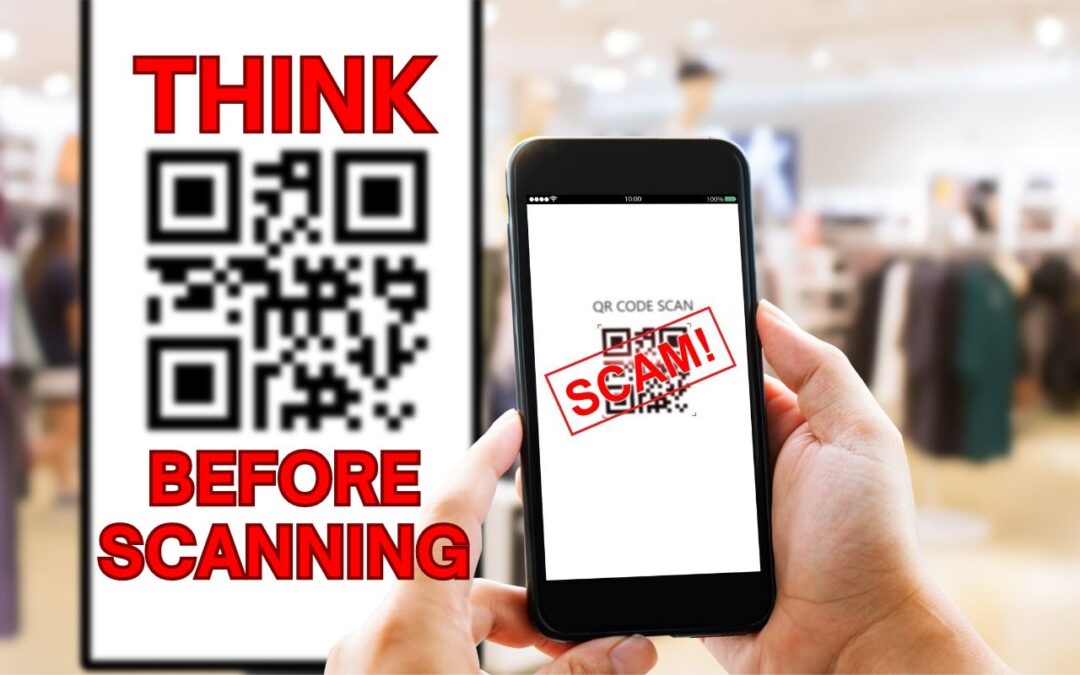
QR codes, those square, blocky codes you scan with your iPhone’s camera to load a Web page, have become ubiquitous. So much so that we seldom pause before scanning any QR code we see. But if you think about it, that’s the same as clicking random links in emails or texts, which is a terrible idea from a security perspective. “Quishing” (QR code phishing) isn’t commonplace yet, but some sources say there are thousands of cases per month. To avoid falling victim to a quishing scam, only scan QR codes from trusted sources, try to verify what a code will do once scanned, and evaluate the yellow URL preview Safari provides (when using other browsers, all you see is Open in Browser Name). Finally, always install iOS security updates promptly because they often address vulnerabilities that could be exploited with malicious data.

(Featured image based on an original by iStock.com/B4LLS)
Social Media: QR codes—those blocky squares you scan with your iPhone camera—are an easy way to open a Web page. Unfortunately, scammers also use them to trick people into visiting malicious websites, so read our tip about scanning these codes safely.
by Steve Sorbo | Aug 1, 2024 | Uncategorized
iOS, iPadOS, and macOS all let you specify whether any given app should show no notifications, temporary banners, or persistent alerts: look in Settings > Notifications and System Settings > Notifications. Temporary banners appear briefly and then automatically disappear, which is appropriate for notifications requiring no acknowledgment. But what if you see a temporary banner only as it’s disappearing and can’t read it in time? You can find a historical list of notifications in Notification Center. To open it from the Lock Screen on an iPhone or iPad, swipe up from the middle of the screen. From any other screen, swipe down from the center of the top of the screen. On the Mac, click the date and time in the upper right corner. If your Mac has a trackpad, you can also swipe with two fingers from the right edge.

(Featured image based on an original by iStock.com/Shutthiphong Chandaeng)
Social Media: If a temporary banner disappears from your iPhone, iPad, or Mac before you have a chance to read it, you can find it in Notification Center.

by Steve Sorbo | Aug 1, 2024 | Uncategorized
We recently wrote an article for those who manage their own Internet domain names about using SPF, DKIM, and DMARC to prevent your domains from being used in phishing attacks and enhance the deliverability of legitimate email. But what about other domains you own but don’t use for email? To make phishing attacks more believable, spammers sometimes forge email so it appears to come from parked domains that aren’t protected. You can use SPF, DKIM, and DMARC to ensure that forged email that seems to come from your unused domains isn’t accepted. The details are too specific to go into here, but Cloudflare has an excellent article outlining what you need to do.

(Featured image based on an original by iStock.com/Igor Kutyaev)
Social Media: If you have parked domains that never send email, it’s important to set up SPF, DKIM, and DMARC so scammers can’t forge legitimate-looking email from those domains.

by Steve Sorbo | Aug 1, 2024 | Uncategorized
When you connect to a public Wi-Fi network at an airport, hotel, coffee shop, or school, you may need to interact with a captive portal login page to be granted access to the network. It might require you to enter login credentials, ask for your name, or make you agree to terms of service. But what if that login page doesn’t appear, or something kicks you off the network and you can’t reconnect? In Safari, navigate to captive.apple.com, which should force the captive portal to display its login page again. If that doesn’t work, remove any custom DNS servers and restart. On the Mac, find custom DNS servers in System Settings > Network > Wi-Fi > Details > DNS. On an iPhone or iPad, go to Settings > Wi-Fi > Network Name > Configure DNS and choose Automatic.

(Featured image based on an original by iStock.com/CreativaImages)
Social Media: When you connect to a public Wi-Fi network, you often must authenticate or agree to terms on a captive portal login page. Here’s the solution if that page doesn’t appear.
by Steve Sorbo | Aug 1, 2024 | Uncategorized
In the Apple world, the account that controls access to all your Apple-related online services is the Apple ID. Buying apps from the App Store, putting photos in iCloud Photos, and sharing data between iCloud-enabled apps—all these actions rely on your Apple ID. If you’re a regular Apple user, you have an Apple ID associated with your email address.
Most Apple users set up an Apple ID when they configure their first Apple device, and if you don’t have an email address that you want to use, you can create a free @icloud.com address during the process. (If you need to create a new Apple ID, you can do that at appleid.apple.com.)

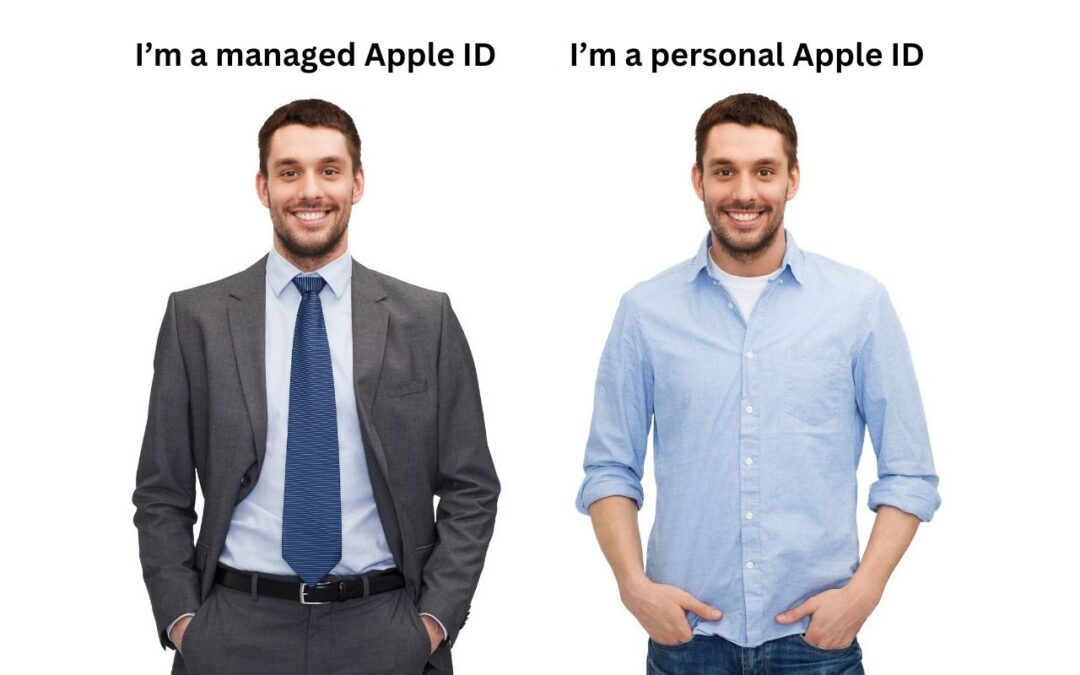
There are actually two types of Apple IDs: personal Apple IDs used by individual users and managed Apple IDs given to employees by businesses and other organizations. Managed Apple IDs are popular with companies that give devices to staff members and need to ensure compliance with various usage and security policies. Let’s look at how they differ:
- Creation, ownership, and control: Individuals set up personal Apple IDs on their own and maintain full ownership over the account and control over the device. Managed Apple IDs are set up by the organization, typically through Apple Business Manager, and the organization retains ownership and control for centralized management. That control is essential when an employee leaves. Otherwise, a company may be unable to reset a returned device and give it to another employee.
- Access to Apple services: Personal Apple IDs have full access to all Apple services and features. Managed Apple IDs have much more limited access to protect the organization from unauthorized purchases and insecure behavior. Users with managed Apple IDs can’t purchase anything from the App Store, iTunes Store, or Apple Books. Nor can they access Apple Arcade, Apple Fitness+, Apple Music, Apple Music radio, Apple News+, or Apple TV+. The Find My, Health, Home, Journal, and Wallet apps aren’t available or fully functional. Plus, Apple Pay, iCloud Family Sharing, iCloud Mail, and iCloud+ services like Private Relay, Hide My Email, and custom email domains are unavailable.
- Security and management: When a device relies on a personal Apple ID, that user is responsible for maintaining security and managing apps (which will belong to the user). That’s appropriate for individuals, but for companies that need to protect corporate information, managed Apple IDs allow the IT department to enhance security by requiring passcodes, enforcing password policies, setting role-based permissions, and separating work and personal data. On the management side, managed Apple IDs make it easier to reset devices, revoke access, comply with legal and privacy regulations, integrate with corporate identity systems, and centralize app licensing.
Though some organizations may prevent it, it is technically possible to use both types of Apple IDs on the same device. For instance, you could use a managed Apple ID on an employer-provided device along with a personal ID to access the App Store, Apple Music, Apple News+, and other Apple services. To do that on an iPhone, you’d go to Settings > Your Name > Media & Purchases and either sign in with your personal Apple ID or, if necessary, tap Sign Out and sign back in.
What’s the takeaway? There are three possibilities, depending on who owns the device and the employer’s security and management policies:
- Personal device not used for work: If you’re a regular user who has purchased your own device and you either don’t use it for work or your employer doesn’t care what you do, all you need is a single personal Apple ID. Although it’s possible to create multiple Apple IDs and use them for different purposes, it’s a recipe for confusion down the road.
- Personal device used for work: If your employer has a BYOD (Bring Your Own Device) program that lets you use your own device with corporate resources, they will likely ask to use Apple’s User Enrollment to create a profile on the device that separates personal and work data and allows the use of both personal and managed Apple IDs. Although the IT department cannot access your personal data (emails, messages, photos, location, etc.), it can enforce security policies, install and configure work-related apps, and control corporate data on the device. Some people find the privacy implications of this approach troubling and opt for separate work and personal devices.
- Employer-provided device: If your employer provides a device for your use, they will likely require you to use a managed Apple ID on it. That prevents you from having to worry about security or management, but comes with some restrictions on what you can do. Talk to your IT department if you also want to use your personal Apple ID on the device.
Hopefully, we’ve clarified the situation surrounding personal and managed Apple IDs. Which makes the most sense in any given situation depends on a wide range of variables, so contact us if you need to talk through the possibilities as either an employee or employer.
(Featured image based on an original by iStock.com/dolgachov)
Social Media: There are actually two types of Apple IDs: personal and managed. Regular users have personal Apple IDs; those who use employer-provided devices are often required to use managed Apple IDs. Learn more about both.

Recent Comments