
by Steve Sorbo | Oct 1, 2024 | TCN Content
Control Center has been a part of our iPhone and iPad experience for over a decade, first appearing in iOS 7 in 2013. It provides direct access to important controls so we don’t have to hunt through Settings or apps. On the whole, it has been a welcome addition.
Although Control Center has changed a bit over the years, it provided relatively minimal customization options until iOS 18 and iPadOS 18. Previously, in Settings > Control Center, you could choose which controls appeared and in what order, though a few essential controls always appeared at the top.
With this year’s operating system updates for the iPhone and iPad, Apple decided to give us nearly free rein to personalize Control Center, even allowing us to add multiple pages of controls. While some people will go wild and utterly reimagine what Control Center can do for them, we expect most to employ more modest tweaks that make it slightly easier to use.

Here’s what you can do in iOS 18 and iPadOS 18:
Learn the basics of getting around in Control Center:
- Open Control Center: Swipe down from the upper-right corner of the screen.
- Move between Control Center pages: During the initial swipe to open Control Center, keep swiping down to navigate to later Control Center pages, represented by tiny icons on the right side of the screen. Once Control Center is open, swipe up or down anywhere on the screen to move between pages or tap the icons.
- Use controls: Tapping an icon in Control Center usually either toggles a setting (like Orientation Lock and Silent Mode) or opens an app (like Magnifier or Wallet). Many display additional options when you touch and hold them (tap the Focus icon to toggle Do Not Disturb; touch and hold it to access more options, each of which offers even more settings). A few controls allow direct manipulation (like Now Playing, Volume, and Brightness).

Add, organize, and remove items from Control Center:
- Enter and leave editing mode: Tap the + icon in the upper-left corner, or touch and hold on any empty part of the Control Center screen, much like you enter wiggle mode on the Home Screen. You can swipe between screens in editing mode as well. When you’re done, tap any empty area to leave editing mode.
- Add a control: In editing mode, tap Add a Control at the bottom of the screen, search or browse for available controls, and tap the one you want to add to the current screen. Note that many apps now provide controls, vastly increasing the actions available from Control Center.

- Move a control: Touch and hold a control and drag it to the desired location. While holding the control, drag it to the bottom or top of the screen to move it to a different page.
- Add a new page: When you’re in editing mode, a new empty page always appears at the bottom. To make it stick around after you exit editing mode, add or move a control to it.
- Resize a control: If a control has a curved resize handle on the lower-right corner of its icon, drag that handle to make the control larger or smaller. Most offer only 1-slot, 2-slot, and 4-slot sizes, with the latter two adding the name—we’re partial to the 2-slot size because we have trouble recognizing little icons. (Control Center would benefit from an option to display names under 1-slot icons as it does on the Add a Control screen.) A few controls, notably Now Playing, are more malleable—it offers two 4-slot sizes, an 8-slot size, a 16-slot size, and a full-page 32-slot size.

- Delete a control: To remove a control, tap the – button in the upper-left corner of the icon.
- Reset the layout to the default: It’s easy to go overboard and end up with a mad scientist layout. To return to the default set of controls, go to Settings > Control Center > Reset Control Center.
Take advantage of extra Control Center tips and settings:
- Check privacy status alerts: In the middle of the screen, you may see one or more small icons and an app name ➊. That indicates the app has permission to do things like track your location, use the camera, or record with the mic. Tap that area to see more details.
- Power down the device: Touch and hold the power button at the upper-right corner of the screen ➋. It’s similar to holding the physical side button and one of the volume buttons for a few seconds, except the physical buttons also provide sliders for viewing your Medical ID and making an Emergency SOS call. Even if you cancel the power-off action, you must enter your passcode to re-enable FaceID.

- Turn off Control Center access in apps: If you accidentally invoke Control Center in apps because you want to swipe near the top right of the screen, go to Settings > Control Center and turn off Access Within Apps.
It’s easy to become overwhelmed with Control Center’s customization possibilities. There’s no harm in sticking with the default layout, but our initial advice is to think about what you use Control Center for now and make sure those actions are well-represented by icons on the first page. Also, if you have trouble remembering what particular icons do, resize them to the 2-slot size so you can see their names. Later on, you can look through the full list of available controls and add those that seem appealing.
(Featured image by iStock.com/yacobchuk)
Social Media: The new Control Center in iOS 18 and iPad OS 18 is vastly more customizable and has more options. Our article tells you what’s on offer and how to use it.
by Steve Sorbo | Oct 1, 2024 | TCN Content
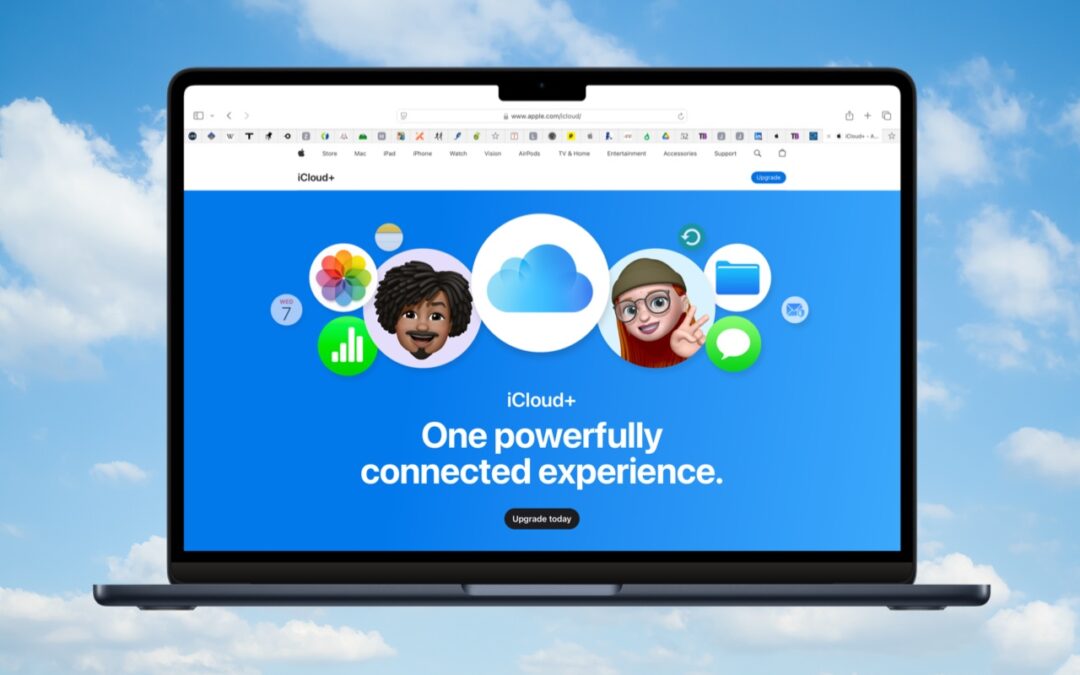
Apple’s online iCloud storage underpins many of the company’s services, including iCloud Photos, iCloud Drive, iCloud Backup (for iPhones and iPads), iCloud Mail, and Messages in iCloud. Numerous independent apps also rely on iCloud storage to sync data between devices.
Apple gives everyone 5 GB of storage for free, which is enough for core services, like iCloud Keychain, and to try the other services. However, those who wish to take full advantage of iCloud Photos and iCloud Drive, in particular, must subscribe to iCloud+. Along with extra storage, iCloud+ subscribers can use:
- iCloud Private Relay, which blocks tracking of Safari traffic, DNS queries, and most non-HTTP Web traffic
- Hide My Email, which creates random, unique email addresses that automatically forward to your inbox
- Custom Email Domains, which lets you register your own custom email domain and use it in a personalized email address
For now, though, we’ll focus on storage. Apple’s iCloud+ rates are similar to those for storage at Google Drive and Microsoft OneDrive, though the specifics vary slightly by service. Apple charges:
- 50 GB: $0.99 per month
- 200 GB: $2.99 per month
- 2 TB: $9.99 per month
- 6 TB: $29.99 per month
- 12 TB: $59.99 per month
Audit Your Storage Needs
How much you should get depends on how much data you wish to upload to start and how quickly you expect that amount to grow. For most people, iCloud Photos consumes more storage space than anything else, although syncing your Desktop and Documents folders between Macs using iCloud can also chew up space.
If you’re not currently using iCloud, use File > Get Info to determine the size of your Photos Library (located in your Pictures folder), and do the same for your Desktop and Documents folders if you want to sync them. You can also anticipate iPhone and iPad backups consuming up to 20 gigabytes or more.
Remember that you can share iCloud+ storage space with people in your Family Sharing group. Checking how much space others in your family would also like to use is worthwhile.
Get Started with iCloud+
Subscribe to iCloud+ in Settings/System Settings > Your Name > iCloud > Upgrade to iCloud+. (In pre-2024 versions of Apple’s operating system, tap Manage Account Storage and Change Storage Plan.)
Then, you can turn on iCloud Photos in Photos > Settings > iCloud on the Mac or Settings > Apps > Photos on the iPhone and iPad. (We recommend having one Mac use “Download Originals to this Mac” so you have a local copy of everything.) If it’s compelling for you, turn on Desktop and Documents folder syncing in System Settings > Your Name > iCloud > iCloud Drive on each of the Macs you want to participate—you don’t need to do anything on iPhones or iPads because everything from your Macs automatically appears in the iOS Files app. The initial sync, which uploads and deduplicates everything, can take days, depending on the upstream bandwidth of your Internet connection.

Once you’re set up, you can see and manage all the apps and services using iCloud. Go to Settings/System Settings > Your Name > iCloud, and next to Saved to iCloud, tap See All. Tap any app to see more information and change its settings.

Running Low on Storage Space
Like a physical drive, your iCloud account can run out of space. When that happens, you can delete data or pay for more space. To see how much you’re using and how that breaks down across different apps, open Settings/System Settings > Your Name > iCloud and, at the top, tap Storage or click Manage. You can then drill down to see more details about each app. For Photos, iCloud Drive, Backups, and Messages, Apple provides suggestions for removing large files to save significant amounts of space quickly. Most other apps offer only an option to delete all your data. Generally speaking, you should delete an app’s data only if you don’t anticipate ever using the app again.

As you get close to your space limit, your devices will prompt you to upgrade so you don’t encounter failures caused by a lack of space. Unsurprisingly, Apple makes it easy to upgrade to a larger tier.
Although there’s nothing exciting about online cloud storage, having more iCloud+ storage significantly improves the experience for those with multiple Apple devices who would appreciate a seamless photo experience with iCloud Photos, accessing their files anywhere, and backing up their iPhones and iPads without needing to connect to a Mac. iCloud storage works well and is reasonably economical for what you get.
(Featured image with background by iStock.com/wing-wing)
Social Media: Although it may not be exciting, having more iCloud+ storage significantly improves the experience for those with multiple Apple devices. We explain what iCloud+ provides, how much you should get, and how to get started.

by Steve Sorbo | Oct 1, 2024 | TCN Content
Macs are much more reliable than in the past, but it remains the case that computers and apps can fail in a wide variety of ways. And they’ve become so integral to daily life that an occasional failure is almost inevitable. Unfortunately, if you aren’t prepared for that eventuality, you may lose work and suffer from unnecessary downtime. A little forethought can significantly minimize the impact of app crashes, lost connectivity, storage failures, and overall hardware hiccups.
App Failures
The most common problems occur in apps, where you have to worry about crashes and file corruption. (Cosmetic bugs and broken features are annoying, but apart from reporting them, there’s nothing you can do about them and they shouldn’t cause you to lose work.) To protect yourself from crashes and corruption, we recommend the following:
- Save new files immediately: Although many apps auto-save, not all do. Whenever you start a new file, save it immediately and frequently as you work. That way, a crash can’t cause you to lose everything you’ve done.

- Use always-on backup software: Backup software like Time Machine and Backblaze run throughout the day, making versioned backups that let you restore earlier versions of a file. Those backups can be a lifesaver if your document becomes corrupted.
- Make manual versions of critical files: For documents where losing work would threaten your continued employment, we recommend making manual versions at least daily, preferably on a cloud storage service. Append a version number to each file, and keep all the versions until you complete the project.
Connectivity Failures
As more of our work has moved online or requires access to online resources, always-available connectivity has become necessary. Many people feel incapable of getting things done without Internet access. Here are some workarounds:
- Be able to switch between Wi-Fi and Ethernet: If one method of connecting to your local network fails, switching to the other can let you get on with your work with minimal interruption. A wireless access point failure could send you to wired Ethernet, or Ethernet cable damage could make Wi-Fi the only option. One shortcut for this is to keep both network adapters active in System Settings > Network, so the Mac can use either.

- Turn on a personal hotspot: If your Internet connection goes down, the fastest way to get your Mac back online may be to connect to your iPhone’s personal hotspot. Set it up in Settings > Cellular > Personal Hotspot and choose it from your Mac’s Wi-Fi menu.

- Identify a public hotspot: Assuming you have a Mac laptop, the better part of valor may be to go somewhere with Internet access, whether a coffee shop, the public library, or the house of a friend or family member. If your problem falls outside business hours, you might even be able to access a public network from a nearby parked car.
- Purchase backup networking hardware: Organizations should maintain backups of their networking gear. In the event of hardware failure, being able to swap a backup router, access point, switch, or cable into place will minimize downtime. Make sure to record your networking configurations so you can configure the new devices quickly.
Storage Failures
Historically, the most failure-prone aspect of a Mac was its hard drive because of its moving parts and insanely tight tolerances. Flash storage used by solid-state drives is far more reliable and resilient to physical bumps and drops. However, it’s still in constant flux as macOS and apps constantly read and write data, so software bugs can result in directory errors and other forms of corruption. We recommend a three-part backup strategy to protect against storage failures—make sure to dedicate drives for backups rather than using them for general storage.
- Back up with Time Machine: Time Machine works well and is tightly integrated into macOS. Use it to create versioned backups of your data so you can restore either individual files or your entire drive.

- Make nightly duplicates: Bootable duplicates that could take over for a dysfunctional boot drive used to be an essential part of a Mac backup strategy, but the difficulty of making them and booting a Mac from an external drive has reduced their utility. Nevertheless, the fastest and easiest way to restore data is often by copying it from a duplicate. Duplicates also provide secondary backups if something were to go wrong with your Time Machine drive. Carbon Copy Cloner and SuperDuper are the most popular backup apps for duplicates.

- Maintain Internet or offsite backups: In the event of fire, flood, or theft causing the loss of both your Mac and your backup, an offsite backup is a must. The easiest and most reliable method of making a backup somewhere else is an online backup service like Backblaze or Crashplan.

Overall Mac Failures
Macs may be reliable, but they’re still vulnerable to physical damage, particularly laptops you carry with you all the time. Bumps and drops can damage a screen or internal connectors that connect the keyboard and trackpad. You can do a few things to minimize the impact of a broken Mac.
- Use the desktop/laptop approach: Although Mac laptops are powerful and expandable enough for all but the most intensive tasks, supplementing a powerful desktop Mac with a less expensive laptop gives you more flexibility and provides a backup if your primary Mac fails.
- Maintain an extra keyboard, trackpad, and display: Getting your work done requires a functional keyboard, trackpad or mouse, and monitor. If any of those accessories were to fail, having an extra one around would let you get back to work with minimal fuss.
- Keep an old or extra Mac as a backup: Those relying on a single Mac should consider keeping an older Mac around as a backup if you have to send your current Mac to Apple for repair. This approach works only if your old Mac can run your current apps. An organization might maintain a backup Mac that could be temporarily swapped in for any employee’s broken Mac.
- Borrow a Mac from a colleague, friend, or family member: If you don’t have an extra Mac that’s sufficiently capable for your work needs, perhaps someone you know does. It’s easy to create a new user account that will keep your data and theirs separate and private. Start in System Settings > Users & Groups.
- Remember Apple’s 14-day return policy: If all else fails, remember that you can buy a Mac from Apple (in person or online) and return it with its included accessories and packaging within 14 days for a full refund. It’s a generous policy that shouldn’t be abused, but it could be a lifesaver if you’re under deadline when your Mac dies.
Of course, you’re welcome to call us for advice about working around any of these tech failures, but these suggestions should get you back in the saddle quickly and with minimal loss of work.
(Featured image by iStock.com/fizkes)
Social Media: Macs may be more reliable than ever, but they still suffer from hardware and software failures. Follow our advice to minimize the impact of inevitable failures.

Recent Comments