by Steve Sorbo | Jan 3, 2025 | Uncategorized
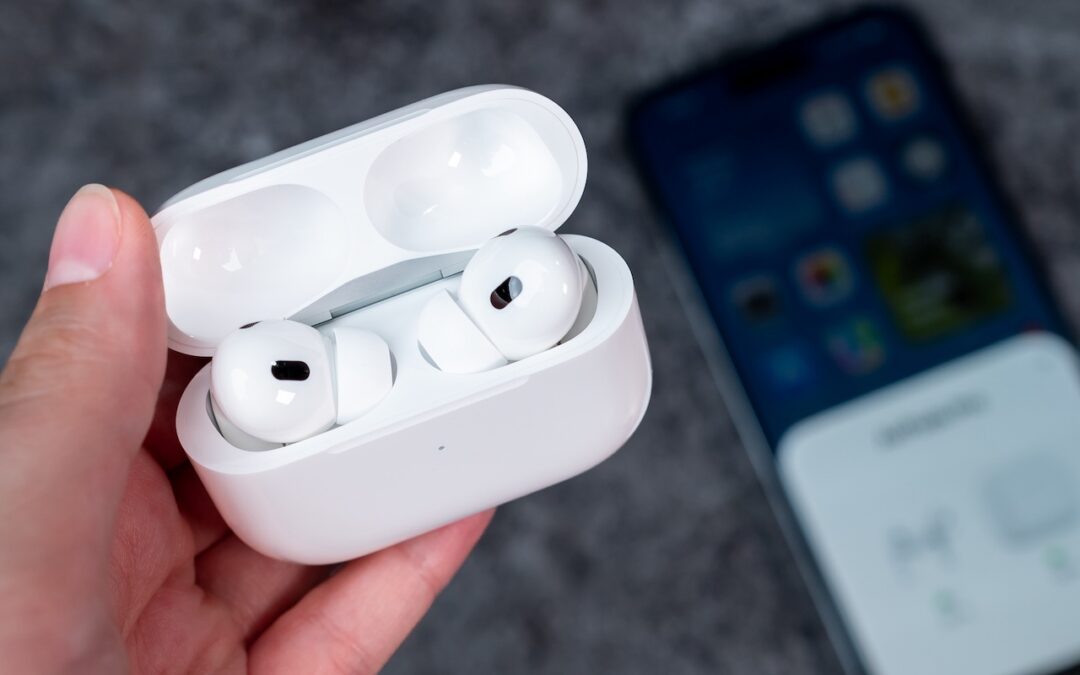
For many, Apple’s AirPods are just another pair of earbuds: a convenient way to listen to media. But with the latest versions of iOS and automatically applied firmware updates, the AirPods Pro 2 have become significantly more interesting.
They have long had noise cancellation features, which we find helpful in open office environments and for turning down the volume on everything from airplanes to vacuum cleaners. The more recent addition of Adaptive mode, which bridges between Transparency and Noise Cancellation modes and changes with your surroundings, makes them useful in dynamic urban environments. The Loud Sound Reduction feature can be a godsend at concerts where the music would otherwise be painfully loud. Personalized Volume adjusts the volume of media in response to your environment, and although it can be a bit disconcerting, Conversation Awareness drops the media volume and reduces background noise when you start speaking to others.
However, the newest and most important feature of the AirPods Pro 2 comes with iOS 18.1: Hearing Health. Many people don’t realize they have hearing loss, so Apple now provides a clinically validated Hearing Test and a clinical-grade Hearing Aid feature that can compensate for mild to moderate hearing loss. Even if you don’t think you have any hearing problems, we recommend taking Apple’s hearing test so you have a baseline to compare against future tests.
Here’s how to check your hearing and get started with the hearing assistance and protection features. Before you start, make sure you’ve paired your AirPods Pro with your iPhone and haven’t been exposed to loud noises for at least 24 hours. (It can take that long for your hearing to return to normal.)
Take a Hearing Test
The Hearing Test has three parts: setup, the actual test, and presenting the results. In the setup phase, the iPhone guides you through finding a quiet place to take the test, inserting your AirPods Pro correctly, and testing the fit.
The fit test is important because the AirPods Pro silicone ear tips help block outside noise, allowing the earbuds to boost or lower the volume of particular sounds or frequencies to improve audio clarity. The AirPods Pro come with four sizes of ear tips, from extra small to large (medium is the default), and the fit test helps you determine which ear tip best combines efficacy and comfort.
To start the test, open the iPhone’s Settings app and tap the name of your AirPods Pro—that option appears only when the case is open or they’re in your ears. In the AirPods screen, tap Take a Hearing Test. The test involves tapping the screen every time you hear a pulse of three tones. As a game, it’s boring but not easy—most people will probably be able to hear the first few tones, but subsequent ones become significantly more difficult to discern. Don’t worry if you miss a tone because you’ll have multiple chances to hear each one. The test focuses first on one ear and then the other.

At the end, the test presents your results. dBHL stands for decibels Hearing Level and indicates the softest sounds you can hear at various frequencies. If you have little to no hearing loss—dBHL under 20—there’s no need to do anything more. dBHL numbers between 20 and 40 suggest mild hearing loss and indicate that you may have difficulty hearing soft or distant sounds, such as whispers or quiet conversations. Numbers from 41 to 55 indicate moderate hearing loss, which can make it difficult to understand normal speech, particularly in loud environments. For higher levels of hearing loss, or if you’re experiencing noticeable problems, consult an audiologist.
Turn On Hearing Assistance
If your hearing test suggests mild to moderate hearing loss, the AirPods Pro Hearing Aid feature can help. It uses the hearing test results to adjust what you hear to improve voice and audio clarity. You can turn it on at the end of the hearing test if indicated, or at any time in Settings > AirPods Pro > Hearing Assistance. (If your results indicate little to no hearing loss, the trick to turning on the Hearing Aid feature is to tap “Learn About Hearing Aid” at the end of the test or by selecting a hearing test result and then tapping Next.)
Apple has created a particularly flexible solution here. In the Hearing Aid section, you can control whether the AirPods Pro adjust external sounds for greater clarity. To tweak the specifics, tap Adjustments and use the amplification, balance, tone, and ambient noise reduction sliders. The Conversation Boost switch enhances face-to-face conversations by focusing on the person in front of you.

Also helpful is Media Assist, which uses your hearing test results to improve music, podcasts, and other audio played through the AirPods Pro. Separate switches let you apply it to Music and Video along with Calls and FaceTime.
Improve and Protect Your Hearing
If you own a pair of AirPods Pro 2, we highly recommend that you take a hearing test and try the Hearing Aid feature. Even if you have little or no hearing loss, you may find that the Media Assist option makes your music sound better. It’s easy to test—just play a song you love (turn it on from Control Center) and toggle Media Assist on and off while it plays.
Also, we’ve started wearing the AirPods Pro in situations where we might not have thought to in the past. It’s obvious that the Noise Cancellation mode would be helpful on an airplane, but we also use it to block unwanted noises to aid our concentration at work. We’ve also found that Transparency and Adaptive modes can be helpful on city streets and in loud restaurants. Plus, because Loud Sound Protection is automatically enabled in Transparency and Adaptive modes, it lets us enjoy front row seats at a concert without worrying about our hearing or suffering from ringing ears the next day.
We know that AirPods Pro aren’t for everyone. Many people prefer the AirPods 4, which provide some noise cancellation without blocking the ear canal with silicone ear tips. But they can’t compete with the AirPods Pro for noise cancellation and lack the new Hearing Health features. Between the Hearing Test and Hearing Aid features and how the AirPods Pro can protect and enhance hearing, we think they will become a more common sight among older adults who otherwise wouldn’t consider wearing earbuds in public. If you have questions or concerns about your hearing, give them a try.
(Featured image by iStock.com/Julija Matuka)
Social Media: Apple’s AirPods Pro 2 can help you hear more—or less. We examine both possibilities and explain how easy it is to use the AirPods Pro to take a clinically validated hearing test and enjoy the new clinical-grade Hearing Aid feature.

by Steve Sorbo | Jan 3, 2025 | Uncategorized
Apple slipped a significant new feature into Mail in iOS 18.2 that has nothing to do with Apple Intelligence: Categories. Like Gmail and other email apps, Mail can now automatically categorize messages into four buckets: Primary, Transactions, Updates, and Promotions. The idea is that categories make it easier to pay attention to important messages while collecting other messages for later processing. Tap the buttons at the top to switch between categories.

Oddly, Categories are currently available only on the iPhone. To maintain the same email experience across all Apple devices, you’ll have to wait for future versions of Mail on the iPad and the Mac.
Here are answers to questions we’ve heard about Mail Categories.
Can You Turn Mail Categories Off?
Apple turned Categories on by default in iOS 18.2, but not everyone appreciates the change. If you have your own organizational system, find the extra sections distracting, or just want to see all your email in one list, you can turn the feature off. Tap the ••• button at the top right of the Mail screen and select List View.

It’s also possible to keep Categories turned on but still see all your messages in a simple chronological list. Swipe left on the line of buttons to switch to an All Mail category that shows exactly what you’d see in List View.

What Appears in Each Category?
With Categories turned on, Mail automatically separates your mail into four categories:
- Primary: Personal messages, plus time-sensitive information from another category
- Transactions: Order confirmations, receipts, and shipping notices
- Updates: News, mailing lists, newsletters, and social media updates
- Promotions: Sale announcements, new products, coupons, and anything commercial
These categories are built-in, so you can’t select some but not others. Nor can you add your own.
Is There a Way to Recategorize Messages?
Unfortunately, Categories isn’t very good at categorizing messages at the moment. (Perhaps it should use Apple Intelligence!) In particular, we see newsletters and other items that should be in Updates incorrectly showing up in Promotions. Fortunately, you can easily recategorize messages from particular senders so Mail can correctly categorize similar messages in the future. How you recategorize messages depends on whether a message is in Primary or another category. For messages in Primary, tap the left-pointing blue arrow at the bottom of the screen and then tap Categorize Sender. For messages in other categories, tap the ••• at the top right of the screen and then tap Categorize Sender.

In either case, tap the desired category on the next screen and confirm your action.

The main problem with recategorizing is that messages from discussion-based mailing lists may be identified by their senders, not the list, so you may have to recategorize every sender from the list separately.
Why Are Messages from the Same Sender Grouped?
When you open a message in Transactions, Updates, and Promotions, you may be surprised to see a digest view that displays all the other messages from that sender. It’s often a helpful way to keep like messages together. Opening a message shows the most recent message, but you can scroll to see the rest. Whether you scroll up or down depends on whether Settings > Apps > Mail > Most Recent Message on Top is turned on. Additionally, how many lines appear in the message view depends on what you’ve selected in Settings > Apps > Mail > Preview.

Not a fan of the sender groups? You can turn the feature off for each of Transactions, Updates, and Promotions by tapping the ••• at the top right and deselecting Group by Sender.
What Are Priority Notifications?
If you’re using an iPhone 15 Pro model or any iPhone 16 with Apple Intelligence turned on, you may see priority notifications on the Primary screen. It’s designed to surface the most important messages, as determined by Apple Intelligence. If you don’t like it, tap ••• in the upper right and deselect Show Priority.
Overall, Mail Categories feels like Apple is playing catch-up with other email apps. If it works with your email stream and you find it useful, that’s great. But if not, don’t hesitate to turn it off and return to your familiar email workflow.
(Featured image by iStock.com/Giulio Fornasar)
Social Media: A noticeable change in iOS 18.2 is Mail Categories, which divides your incoming email into Primary, Transactions, Updates, and Promotions. It can be helpful, but you may want to adjust its settings, and if you still don’t like it, it’s easy to turn off.
by Steve Sorbo | Jan 3, 2025 | Uncategorized
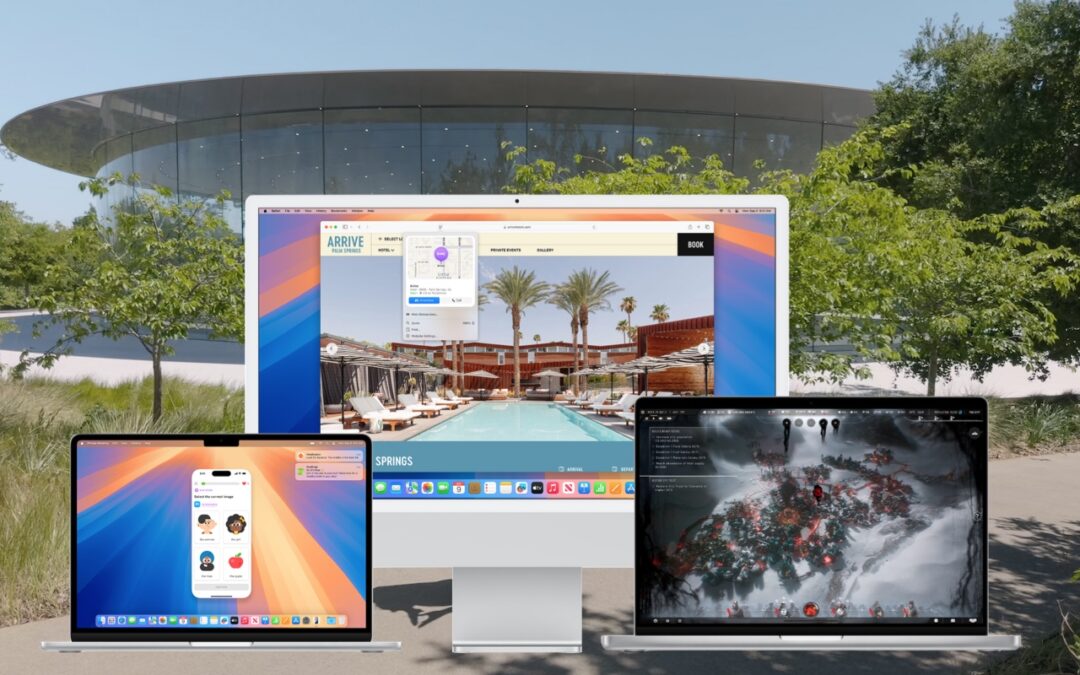
While we typically advise caution when considering upgrades to the latest major macOS release, we believe Apple has sufficiently refined macOS 15 Sequoia to warrant an upgrade for those interested. You don’t need to upgrade immediately, but there are no significant reasons for most people to delay further.
The big win in upgrading now is that Apple has released betas of most of its promised Apple Intelligence features for Macs with Apple silicon. In other posts, we’ve looked at the artificial intelligence-driven features that arrived in macOS 15.1 and macOS 15.2, including:
- Writing Tools for proofreading, rewriting, summarizing, and composing text
- Clean Up in Photos for removing background objects, plus natural language searches
- Audio recording in Notes, with transcription and summarization
- Summaries replacing snippets in Mail message lists, plus summarization of long messages or threads
- A Smart Reply feature in Mail and Messages for quick replies
- Notification summaries that reduce distractions from chatty apps
- Integration of ChatGPT with Siri
- Image Playground for generating custom images based on your descriptions
Sequoia has been quite stable, with two caveats. First, there have been some networking issues related to Apple’s built-in firewall and VPNs; we don’t yet know if macOS 15.2 resolves these. Second, macOS 15.2 introduced a new bug that causes problems for backup apps trying to make bootable backups on Apple silicon Macs. Although that’s annoying and will likely be fixed shortly, Apple has been deprecating bootable backups for years in the name of security. The modern approach is to install macOS from macOS Recovery, then use Migration Assistant to restore from Time Machine or a data-only backup.
Apple will continue to release macOS updates in 2025. If past performance is any indication, you can expect macOS 15.3 in January, 15.4 in March, and 15.5 in May with a few new features, plus a few security and bug fix updates in between.
That said, you can put off the Sequoia upgrade as long as you’re running macOS 13 Ventura or macOS 14 Sonoma and are staying current with Apple’s security updates. Earlier macOS versions no longer receive security fixes, rendering them more vulnerable to attack. Possible reasons to continue delaying include:
- You’re too busy. The upgrade process will take a few hours, plus some additional time to configure everything properly afterward. When you are ready to upgrade, aim for when a little downtime will be convenient.
- You rely on incompatible software. The jump from Ventura or Sonoma to Sequoia isn’t a big one, so most modern apps should have been updated by now. But if a necessary app is known to have issues, you’ll either need to wait for an update or switch to an alternative that works.
Sequoia may not transform your experience of using a Mac, but it has new features you might appreciate beyond Apple Intelligence. The most noticeable is probably iPhone mirroring, which lets you use your iPhone in a window on your Mac. Also potentially interesting are its new window tiling features that let you quickly arrange windows, the standalone Passwords app, Highlights and Distraction Control in Safari, and collapsible headers in Notes.
Before You Upgrade
Once you’ve decided to upgrade to Sequoia, you have three main tasks:
- Update apps: Make sure all your apps are as up-to-date as possible. If you regularly put off updates, now’s the time to let them complete so you have Sequoia-compatible versions.

- Clear space: Sequoia may need as much as 25 GB of free space to upgrade, and the Sequoia installer itself is nearly 15 GB, so we recommend making sure you have at least 50 GB free. Don’t cut this close—you should always have at least 10–20% free space for virtual memory, cache files, and breathing room. Check in Sonoma or Ventura by choosing System Settings > General > Storage; in earlier versions of macOS, choose About This Mac from the Apple menu and click Storage. System Settings provides quick ways to free up space. Another easy option for iCloud Drive users is to Control-click large folders and choose Remove Download to “evict” the local versions of those files temporarily; Box, Dropbox, and Google Drive have similar features.

- Make a backup: Never, ever install an update to macOS without ensuring you have at least one current backup first. In an ideal world, you’d have an updated Time Machine backup, a data-only duplicate, and an Internet backup. That way, if something goes wrong, you can quickly revert.

Upgrading
After completing those tasks, ensure you won’t need your Mac for a few hours. There’s no telling exactly how long the upgrade will take, so never start an upgrade if you need the Mac soon.
To initiate the upgrade, open System Settings > General > Software Update in Sonoma or Ventura (System Preferences > Software Update in previous versions of macOS), click the Upgrade Now button, and follow the instructions. If you’d like more guidance, check out Joe Kissell’s ebook Take Control of Sequoia.

After You Upgrade
Part of the reason to set aside plenty of time for your Sequoia upgrade is that there are usually cleanup tasks afterward. We can’t predict precisely what you’ll run into, depending on what version of macOS you’re running now and what apps you use, but here are a few situations we’ve noticed in the past:
- macOS may need to update its authentication setup by asking for your Apple ID password, your Mac’s password, and, if you have another Mac, its password. Don’t worry that malware has compromised your Mac—these authentication prompts are fine.
- Some apps may have to ask for various permissions even though you previously granted them. Again, that’s fine.
- If you use your Apple Watch to unlock your Mac and apps (and you should; it’s great!), you may need to re-enable that in System Settings > Touch ID & Password (or Login Password on a non-Touch ID-enabled Mac). In older versions of macOS, it was in System Preferences > Security & Privacy > General.
- If you use Gmail, Google Calendar, or other Google services, you may need to log in to your Google account again.
- Websites that usually remember your login state may require you to log in again. However, if you’re using a password manager like Apple’s Passwords or 1Password, that’s easy.
- You may have to re-enable text message forwarding to your Mac. You do this on your iPhone in Settings > Messages > Text Message Forwarding.
With all that housekeeping done, it’s time to check out all the new features in Sequoia!
(Featured image by Apple)
Social Media: When should you upgrade to macOS 15 Sequoia There’s no need to install it today, but we think it’s safe for those who want to take advantage of the new features and integration with Apple’s other operating systems.

Recent Comments