
by Steve Sorbo | Apr 4, 2025 | Uncategorized
Calendar events are usually straightforward. For instance, if you schedule a meeting for 3 PM on Thursday, an alert will remind you to leave 30 minutes beforehand.
However, since we live in an increasingly global world, we occasionally have to consider time zones when scheduling meetings. Business travelers have long needed to keep track of meeting times as they move across time zones, and the number of online meetings spanning the globe has skyrocketed since the pandemic. Whether you’re scheduling appointments on the other side of the country or collaborating with a remote team, it’s essential to be able to work effectively with time zones on your iPhone, iPad, and Mac. Here’s what you need to know.
Fact 1: All Events and Reminders Have Time Zones
The first thing to understand is that every calendar event and reminder has an associated time zone. However, that’s not always obvious—you won’t see any options for adjusting time zones in Calendar on the Mac unless you enable an advanced setting, and reminders never show their time zone.
By default, events use the local time zone of the device on which you create them, which is usually appropriate. However, you can adjust an event’s time zone to make sure you’re notified at the right time after traveling.
Unlike calendar events, timed reminders in the Reminders app are permanently linked to the time zone in which they were created, and this setting cannot be altered. When traveling across time zones, reminders’ local times will adjust accordingly, triggering alerts at unexpected times.
Fact 2: Time Zone Display Can and Will Change
The second point to grasp is that calendar apps display the times of events based on two factors:
- Device time zone: Apple devices typically set their time zone automatically based on location. If you live in Virginia and fly to Oregon, your iPhone will switch from Eastern Time to Pacific Time as soon as you take it out of airplane mode, and your Mac will do the same once it connects to the Internet. You can manually set the device time zone in Settings/System Settings > General > Date & Time, but that’s seldom necessary.
- Calendar time zone overrides: You can make the Calendar app display events as if you were in a different time zone. This feature can help you confirm that events scheduled in another time zone show up at the correct times. On the iPhone or iPad, enable Settings > Apps > Calendar > Time Zone Override. Be careful not to forget about this override, or it may lead to confusion later. On the Mac, go to Calendar > Settings > Advanced, select “Turn on time zone support,” and choose a time zone from the pop-up menu that appears near the upper-right corner of the window.

When an event’s time zone differs from your device’s current time zone or the time zone override setting, Calendar will indicate the discrepancy. For example, an event at 2 PM Eastern Time event viewed on a device set to Pacific Time will display as 11 AM, with the original time zone noted in parentheses.

Working with Event Time Zones
When creating events where the time zone might be significant, you have three options:
- Stick with the local time zone: Since all events are associated with a time zone, if you do nothing when creating an event, it will default to your current time zone. This is appropriate when the event will be shared with someone in another time zone through an invitation or shared calendar. However, it poses issues when creating events related to a trip.
- Change to a remote time zone: When scheduling your future self in another time zone—perhaps for business meetings or conference sessions—you can set those events to the time zone of your destination, ensuring they appear at the correct time once you arrive. On the iPhone and iPad, choose the time zone when setting the start time. On the Mac, with time zone support enabled, select it from the Time Zone menu.

- Switch to the floating time zone: For travelers who frequently cross time zones, Apple supports a special “floating time zone” that ensures events appear at the same local time regardless of location. For example, a noon lunch meeting set with a floating time zone will always appear at noon, whether you’re in Boston or Denver. However, the floating time zone does have its limitations. While all Apple devices synced through iCloud honor the floating time zone, you can create events with it only on the Mac, not on the iPhone, iPad, or iCloud.com. Additionally, syncing events through Google Calendar or Microsoft Exchange should work, but if you edit an event on the Web or with non-Apple apps, it will revert to the local time zone.
Common Time Zone Scenarios
Now that you understand that events are always associated with time zones, how they appear in Calendar, and how to specify particular time zones for events, let’s look at some common time zone scenarios:
- When traveling to another time zone: For events during an upcoming trip, you can either manually set the event’s time zone to match your destination or use the floating time zone. The manual approach ensures that events appear at the correct local time once you arrive, although it may be confusing to visualize before departure. The floating time zone maintains the same “wall clock time” regardless of your location, making it easier to plan your schedule before you leave.
- Creating events while away: Conversely, when scheduling an appointment back home while traveling, set the event time zone to your home time zone. The event will appear on your calendar at the correct adjusted time. The floating time zone works well as an alternative for personal events that should take place at the same local time, no matter where you are.
- Trips with multiple time zones: For complex itineraries involving flights and travel transitions with departure and arrival times in different zones, the Calendar app on the iPhone and iPad allows you to create events that start and end in different time zones. Tap the Time Zone option beneath the Start and End time pickers to set different time zones. Although you cannot create these multi-zone events on the Mac, they will display correctly on all your synced devices.
- Remote scheduling: When inviting people from different time zones to an event or scheduling meetings with team members in various locations, create the event in your local time zone. The invitations and shared events will automatically adjust to each recipient’s time zone. When searching for optimal meeting times across multiple time zones, use a tool like World Time Buddy, which provides visual guidance for overlapping business hours.
- Reminders can be tricky: Since reminders always use the time zone where they were created, their local times will shift as you travel, leading to notifications at unexpected times. The only workaround is to edit their times manually when you arrive at your destination and again when you return home. Alternatively, consider using an app like Due that keeps reminders consistent with “wall clock time.”
- Scheduling global events: When planning a webinar or other online event that people in many different time zones might attend, use a tool like Every Time Zone to identify suitable times across various regions. After creating the event at the selected time, drag it from Calendar to the desktop to generate an ICS file for sharing with participants. This file will reflect your local time zone, and when attendees double-click it to import, their calendar app will display it at the appropriate time for them.
Although we’ve focused on Calendar on the iPhone, iPad, and Mac here, the same concepts—except for the floating time zone—apply to other apps like Microsoft Outlook and Google Calendar. By keeping these time zone concepts in mind, you can avoid calendar confusion and ensure that you don’t miss important meetings, regardless of where in the world you find yourself.
(Featured image by iStock.com/STILLFX)
Social Media: Managing time zones in Apple’s calendar tools is straightforward if you remember two key points. Our article clarifies your options and explains how to handle common scenarios.
by Steve Sorbo | Apr 4, 2025 | Uncategorized
As more of our lives shift online, it becomes increasingly important to establish boundaries between different aspects of our digital activities. Many people maintain separate work and personal email addresses for this reason. But you don’t have to stop there.
Modern Web browsers offer profiles, a powerful but often overlooked feature. Whether you’re juggling work and personal browsing or managing multiple projects, browser profiles can make your digital life more organized and efficient.
Why Use Browser Profiles?
The overarching reason to use browser profiles is to make it easier to focus on one thing at a time. Imagine you’re working on a bathroom remodel at home while negotiating a new contract with an important client at work. You probably don’t want to be distracted by tabs showcasing countertop surfaces when you should be estimating client deliverable dates. That’s especially true if you use the same Web apps—Gmail, Google Docs, Slack, Trello—to manage both personal and professional projects.
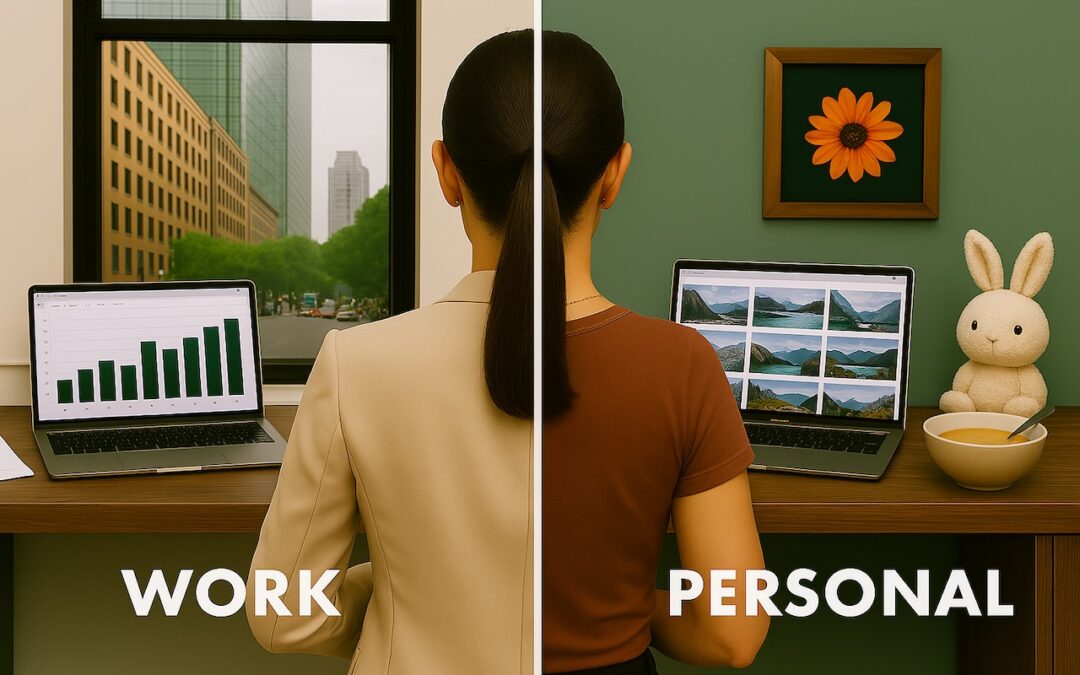
By setting up separate browser profiles, you can keep your work and personal browsing completely separate. That includes different bookmarks, sets of tabs, and account logins for the same websites. When you open Google Docs in your personal profile, you will find sheets that track the timeline for your bathroom remodel in your personal account; switch to your work profile to view only documents in your work account.
Other common uses for browser profiles include separating clients—particularly when managing accounts for them—keeping research projects or hobbies distinct, and maintaining a clean browser environment for testing.
What’s Stored in a Browser Profile?
Each browser profile maintains its own distinct set of browsing data and settings. While specifics may vary slightly among browsers, options include:
- Bookmarks/favorites: Saved websites, possibly in hierarchical folders
- Browsing history: The chronological list of websites you have visited
- Saved passwords: Login credentials for websites if you rely on the browser rather than an independent password manager
- Extensions and their settings: Which browser extensions are installed and how they’re configured
- Cookies and site data: These store website preferences, login status, and site-specific information
- Stored forms and autofill data: Saved addresses, payment methods, and other form data
- Browser settings and preferences: Search engine preferences, home page and startup settings, theme and appearance options, and privacy and security settings
- Open tabs and windows: Including tab groups and recently closed tabs
When you switch between profiles, you get a completely fresh browser environment with its own set of everything listed above. You can log in to the same website using different accounts in various profiles, and your activity in one profile won’t impact or be visible in another.
Setting Up and Switching Between Profiles
Getting started with profiles is simple. Here’s how to create and switch between them in Safari (in macOS 14 Sonoma and later), Google Chrome, and Firefox. Before you get started, though, a few tips:
- Give profiles descriptive names and distinct colors so they’re easy to identify.
- Keep the number of profiles manageable because too many can become confusing.
- If you create profiles for clients or projects, periodically review and tidy up unused ones.
- Keep in mind that profiles are intended for organization and efficiency, not security—anyone with access to your Mac can switch to any profile.
- Chrome and Firefox profiles are stored on a particular computer—they won’t sync with another copy of those browsers on another computer.
Safari
Safari profiles share more data than those in Google Chrome and Firefox, and unlike the other two, Safari profiles automatically sync between devices. All bookmarks and saved passwords are accessible to all profiles, although you can choose a separate primary bookmark folder for each profile. Note that Safari stores its current settings in a permanent Personal profile that becomes visible only after you create a new one. To create a new profile in Safari:
- Choose Safari > Settings > Profiles.
- If this is your first new profile, click Start Using Profiles. Otherwise, click + to create a new profile.
- Enter a name, and choose a symbol and color.
- Select a folder within your bookmarks to hold the profile’s primary bookmarks.
- Click Create Profile.

- Choose how new windows and tabs open.
- Click the Extensions tab, and select the extensions you want to use with the profile.
Every window in Safari is associated with a profile, so switching between them can be as simple as clicking another window or using the Window menu. At most, you have to open a new window for the desired profile:
- Choose File > New Profile Window. If you have three or more profiles, the command becomes File > New Window > New Profile Window.
- With the sidebar closed, click the profile button and choose New Profile Window to create a new window. When viewing the Start page, you can choose Switch to Profile Window to change the profile for the current window.

Google Chrome
Google Chrome has had browser profile support for many years. Like Safari, you start with a default profile. To create a new profile in Chrome:
- Choose Profiles > Add Profile. Click to continue without an account or sign in with a different Google account.
- Enter a name and pick an icon for the profile.

- If desired, choose Chrome > Settings to adjust settings and active extensions for the new profile.
Every window is associated with a profile, so switching is often just a matter of clicking the desired window or choosing it from the Window menu. To open a window for a different profile:
- Choose Profiles > MyProfile.
- Click the profile icon in the toolbar and choose the profile you want.
Once you have multiple Chrome profiles, the app will ask you which to open on each launch. From this screen, you can also remove a profile by clicking the vertical dot menu and choosing Delete. If you deselect “Show on startup,” Chrome will open the last used profile at startup. You can always access this screen by clicking the profile icon in the toolbar and choosing Manage Chrome Profiles.

Firefox
Although Firefox was the first browser to support profiles, they remain poorly integrated into its interface and can be confusing because each opens in another instance of Firefox— a new Firefox icon appears in the Dock for each. To create a new profile in Firefox:
- Type
about:profiles in the address bar to open the About Profiles page.
- Click Create a New Profile.
- Name your profile and optionally select a custom location for profile storage.
- On the About Profiles page, in the listing for your new profile, click “Launch profile in new browser” to open a new instance of Firefox with it.

- Configure this new instance of Firefox as desired.
Opening a new profile instance can be tricky since it’s essentially like opening another app, but there’s only one Firefox icon in your Applications folder. While there are command-line tricks to make switching easier, this is the simplest approach:
- Type
about:profiles in the address bar to open the About Profiles page.
- In the listing for the profile, click “Launch profile in new browser.”
To simplify this process, open the About Profiles page in each profile and drag its proxy icon to the Bookmarks toolbar. That way, you can click the bookmark in the toolbar for quick access to About Profiles.
Once multiple profile instances are open, you can switch between them by clicking their windows or Dock icons.
Be Careful with External Links
Browser profiles struggle with one scenario: opening links from other apps. Imagine you’re busy in your Work profile but take a quick break to check your personal email. You receive a link from your bathroom designer with possible lighting options, so you click it. Since your browser is using your Work profile, the link opens there, and you have to transfer it manually to your Personal profile or risk muddying your organization.
However, this is a minor obstacle, given how beneficial browser profiles can be for organizing your online activities, whether you’re juggling multiple projects or simply keeping your work and personal browsing distinct.
(Featured image generated by ChatGPT)
Social Media: Tired of juggling work and personal tabs in one browser? Learn how browser profiles can keep your online life organized and distraction-free, plus get step-by-step tips for setting them up in Safari, Chrome, and Firefox.
by Steve Sorbo | Apr 4, 2025 | Uncategorized
Every company today conducts business online, by sending email, if nothing else. That’s true even if your firm operates primarily in the physical world—customers undoubtedly find you by browsing in Apple Maps, searching in Spotlight, and asking Siri for directions. If you sell products, you probably take Apple Pay.
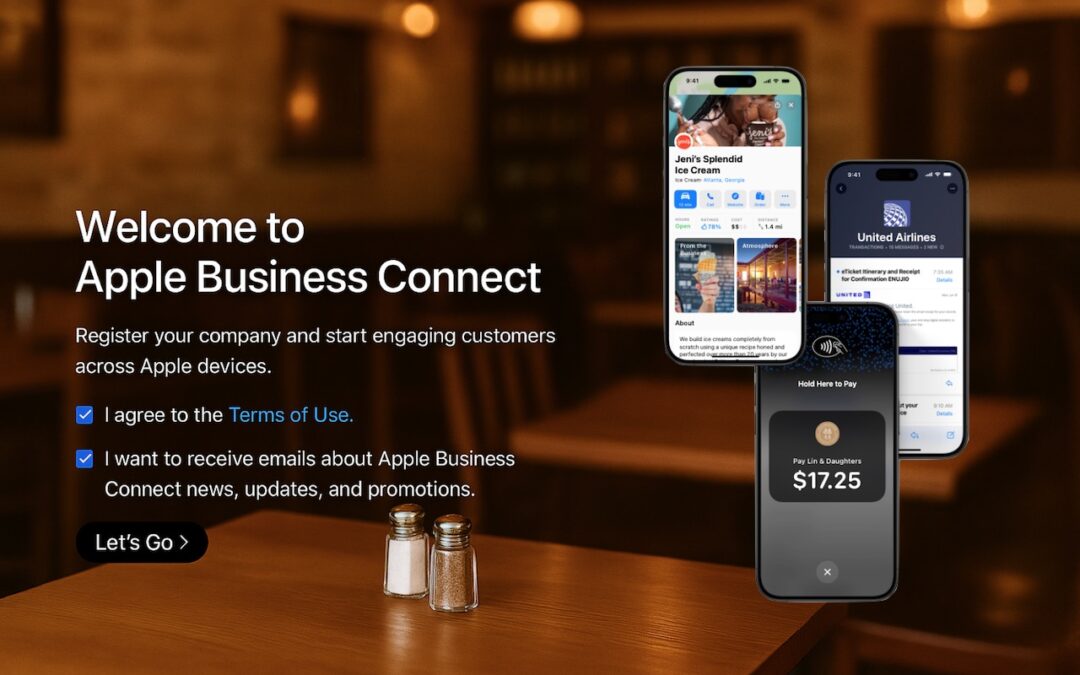
Apple Business Connect is a free program designed to help businesses enhance their brands everywhere they appear on Apple devices, including Maps, Wallet, Siri, Calendar, Messages, Spotlight searches, and more. Once you sign up for Apple Business Connect (we’ll resist the temptation to say it’s as easy as ABC) and are verified by Apple, you can:
- Set up Branded Mail: With Branded Mail, email sent from specific addresses or your entire domain will be branded with your logo in the Mail app on Apple devices, helping users identify your brand.

- Configure location information: Simple addresses don’t always connect with store entrances, so you can precisely specify the entrance to each of your locations.
- Customize Place Cards: When customers find you in Maps, add your address to Calendar, or ask for your location from Siri, Apple displays a Place Card. With Apple Business Connect, you can customize the Place Card.
- Add custom action links: Your Place Card can contain custom action links that point to your website or other Web-accessible platforms. For instance, a restaurant might add custom action links for Menu, Reservations, Takeout, etc.
- Create Showcases: A Showcase is a module on the Place Card that lets you highlight sales, deals, new items, or other promotional content. If someone is looking for you, why not promote your latest offerings?
- Get Insights: Apple records valuable information about customer search behavior, including search locations, discovery methods, and actions customers take after finding your business.
- Add Tap to Pay on iPhone: For those who don’t already have a point-of-sale system, Tap to Pay on iPhone lets you accept contactless payments on an iPhone without an extra terminal or hardware.

Apple has also announced Business Caller ID, slated to ship in 2025, which will display your brand’s name, logo, and even a specific department when you call someone using an iPhone. That should help people realize that a call from your company is legitimate and not some telemarketer, making them more likely to pick up.
Getting started with Apple Business Connect is simple, but verification can take up to a week. It’s best to work through Apple’s clear documentation for registering your business, but the basics are:
- Sign in with your Apple Account (use your Apple Business Manager account if you have one).
- Enter your company details.
- Set up a brand by giving its name, category, geographic location, and logo.
- Turn on Branded Mail by adding a domain or email address, and verifying your company.
- Add a location by specifying its address and hours.
- Create a Place Card, add a Showcase, and create custom actions.
Needless to say, Apple Business Connect only impacts how you appear to people using Apple devices and apps. For everyone else, we recommend setting up a Google Business Profile, which provides similar features, though primarily for businesses with physical locations and upsells for advertising on Google.
However, it’s absolutely worth working with Apple Business Connect to enhance how you and your brand appear to customers. If you need help setting it up, contact us.
(Featured image based on an original by Apple)
Social Media: Discover how Apple Business Connect helps businesses stand out in apps like Maps, Spotlight, Calendar, and Wallet. From custom Place Cards to branded email, Apple Business Connect can enhance your brand and help you reach your audience more effectively.

Recent Comments