by Steve Sorbo | Nov 7, 2025 | Uncategorized
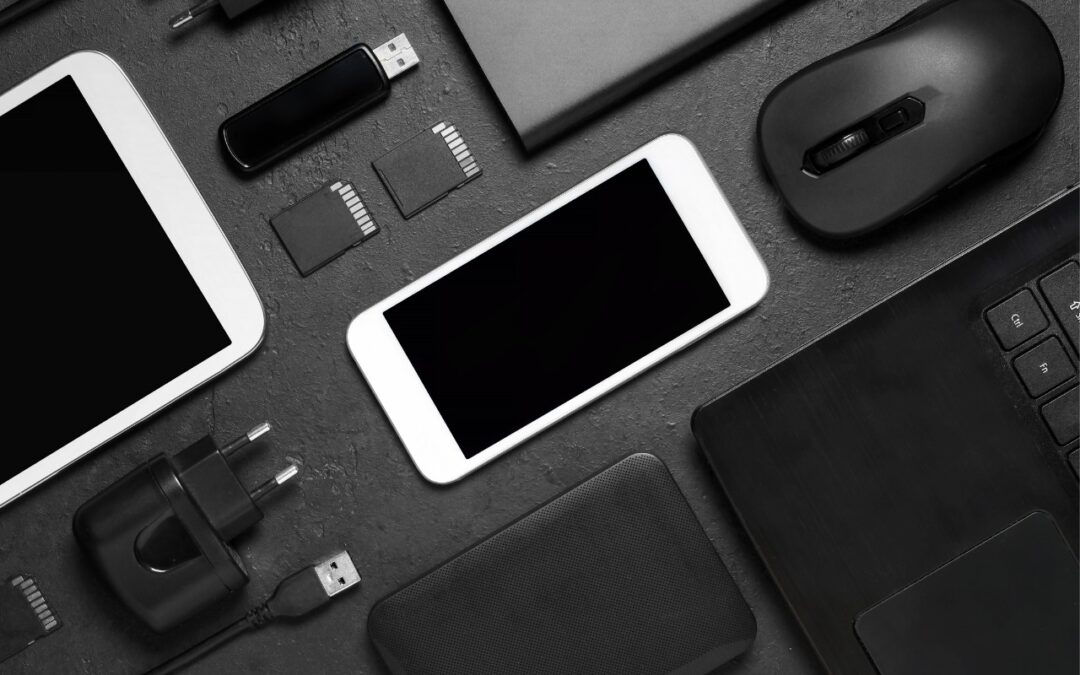
The holidays may be just around the corner, but we field requests for tech gear recommendations year-round. Below you’ll find our suggestions, whether you’re shopping for an Apple tech enthusiast or simply looking to upgrade your own devices and accessories. Plenty of other excellent options exist—we’d love to hear about the peripherals that have worked well for you. We’ve included links to both the manufacturer’s website and Amazon, where you can sometimes find better pricing.
External SSD
All Macs now use fast internal SSDs, but built-in storage gets expensive fast. The pricing of external solid-state drives makes them compelling for both additional storage and silent Time Machine backups. SSDs also provide the ultimate performance for demanding workflows. The Samsung and Crucial SSDs are good general-purpose drives; for the highest performance with Thunderbolt 5, look at the OWC Envoy Ultra.
External Hard Disk Drive
For high-capacity backups or archives, spinning hard drives remain the budget-friendly choice. They come in sizes up to 20 TB, and you can pay less than $15 per terabyte, although $20–$30 per terabyte is more common. It’s impossible to recommend specific models without knowing how much storage you need, but these manufacturers are generally highly regarded. Because hard drive prices can fluctuate, visit diskprices.com to identify current deals on new drives.
- Seagate: Seagate offers a collection of desktop and portable drives under its own name and the LaCie brand. Apart from some of the larger LaCie drives targeted at professionals, most are focused on the consumer market.
- Western Digital: Although some debate Seagate versus Western Digital reliability, many people like the company’s wide variety of external hard drives.
- OWC: Other World Computing sells desktop and portable drives with an emphasis on RAID storage and professional uses. OWC also offers enclosures for installing bare drives purchased elsewhere, which is a good way to save money if you want to upgrade the drive over time.
27-inch External Displays
An overwhelming number of displays in many different sizes work with the Mac. The sweet spot is often the 27-inch size used by Apple’s Studio Display, which leads the pack in both features and price. It’s a 5K display that provides unparalleled sharpness at its standard pixel-doubled resolution of 2560×1440. Competition in the 5K display space has picked up, with new entrants from Asus, Alogic, BenQ, Samsung, ViewSonic, and others. If 5K displays still exceed your budget, check out the 27-inch 4K displays from Alogic and BenQ below, which connect via USB-C. Dell and BenQ also make high-quality screens that connect using Thunderbolt, but they’re more expensive. Third-party displays often don’t include webcams and generally feature subpar speakers compared to the Apple Studio Display, so building a comparable display would require a separate webcam (or an iPhone using Continuity Camera) and speakers.
Webcams
If you have a display that lacks a webcam, or you’re looking to improve on the relatively unimpressive webcams in Apple’s older devices, you now have some excellent options to choose from. These webcams offer top-notch image quality and often include advanced features, such as automatic framing, desk mode, and cinematic effects.
Earbuds
A good set of earbuds is helpful for videoconferencing and, of course, for listening to music or podcasts while commuting, exercising, or just out and about. The AirPods and AirPods Pro are the default options for Apple users, and both are excellent, with the AirPods Pro in particular offering impressive noise cancellation. The AirPods 4 offer active noise cancellation as a $50 option, but they don’t match the AirPods Pro 3 in that category. EarFun has some good earbuds at much lower prices; Sony and Technics compete on the high end.
Laptop Chargers
Although all MacBooks come with a power adapter (we’re fond of the two-port models), you might want additional chargers that stay plugged in wherever you work or take up less space in your laptop bag. Plus, Apple’s chargers, though high quality, are expensive and large. Consider these alternatives, keeping in mind that fast charging requires higher wattages than standard charging (70W for the MacBook Air, 96W for the 14-inch MacBook Pro, and 140W for the 16-inch MacBook Pro). Extra ports are often welcome, and the OneAdaptr chargers work in 200 countries.
USB Hubs
When you need to connect extra devices to your Mac, an inexpensive USB hub is often the answer (unless you prefer a Thunderbolt dock, next). The best hub for you depends on which ports you need, so our choices cover a range: the Anker 555 offers many different ports, the Anker 10-port hub provides many USB Type-A ports, and the Belkin 4-port hub focuses on USB-C ports.
Thunderbolt Docks
For more demanding scenarios, a full Thunderbolt dock is worth the extra cost over a USB hub. A Thunderbolt dock lets you connect multiple high-resolution monitors, high-speed drives, Ethernet, and more—all while charging your laptop through one cable. For the ultimate performance on a Thunderbolt 5-equipped Mac, go for the OWC Thunderbolt 5 Dock. Otherwise, the Sonnet and CalDigit docks boast the most ports in horizontal and vertical form factors, respectively, and the OWC Thunderbolt mini Dock trades some ports for portability. Each company also offers more choices with different sets of ports.
Non-Apple Pointing Devices
Not everyone loves Apple’s trackpads or the flat Magic Mouse. Thankfully, many great third-party mice and pointing devices work with the Mac. Although most Bluetooth mice will work with the Mac, additional software may be necessary to control tracking speed, extra buttons, or scroll wheels. Unusual pointing devices like the Kensington trackball and Contour RollerMouse may be appreciated by those suffering from hand or wrist pain from mousing.
Non-Apple Mac Keyboards
All Macs other than the Mac mini come with a keyboard, but if you prefer a different key feel or layout, there’s a world of keyboards beyond Apple’s options (but only Apple’s support Touch ID). You’ll need to decide if you want a full-size keyboard with a numeric keypad or a compact keyboard that takes up less space on your desk—there are also in-between sizes. Also, different keyboards use different types of switches under their keycaps, so you may need to experiment to find what you like best. It’s worth buying a keyboard designed for the Mac to ensure it has or can be configured with the correct keys. The recommendations below should get you started; also check out other products from these manufacturers.
iPad Keyboards
Apple makes some of the best iPad keyboards, but they don’t work with all older models. The company makes the Magic Keyboard for the M4 and M5 iPad Pro models, the Magic Keyboard for the iPad Air and earlier iPad Pro models, and the Magic Keyboard Folio for the 10th-generation iPad. If you want to spend less, leave out the trackpad, or have a different case design, look into the alternatives.
Small-Device External Batteries
Although Apple continuously improves battery life for the iPhone, iPad, Apple Watch, and AirPods, there will always be situations—travel, camping, non-stop use—where an external battery is a lifesaver. That’s especially true for older devices whose batteries don’t last as long as they used to. Apple has even gotten into the game with a MagSafe battery, but it works only with the company’s newest iPhone model.
MagSafe Chargers for the iPhone
While wired charging remains faster and more efficient than wireless options, MagSafe charging offers undeniable convenience for iPhone users. MagSafe chargers also work with wireless charging cases for the AirPods Pro, and chargers like the KUXIU X55 even include an Apple Watch charging puck.
One final piece of advice. For many of these product categories, you’ll find a dizzying array of products at bargain basement prices from alphabet-soup Chinese manufacturers. Although some may make quality products, we recommend sticking with reputable companies that have been serving Apple users for years. Even if their products are somewhat more expensive, they’re less likely to cut corners on manufacturing quality and safety (especially important with batteries and cables) and more likely to provide support in the event of problems.
(Featured image by iStock.com/Andrey Mitrofanov)
Social Media: Shopping for an Apple enthusiast this holiday season? Or maybe your own tech setup needs an upgrade? Check out our curated list of peripherals across multiple categories—from storage to chargers to keyboards.

by Steve Sorbo | Nov 7, 2025 | Uncategorized
Spam is one of the many banes of modern existence. While we receive more email spam than anything else, interruptions from unwanted phone calls and text messages are even more annoying. Apple has added various features over the years to help control spam calls and messages, but none have completely solved the problem. The problem is that, unlike email, it’s difficult to evaluate a call or message before notifying the user, especially since phone calls occur in real time and text messages are meant for quick back-and-forths.
In iOS 26, iPadOS 26, and macOS 26 Tahoe, Apple has taken another swing at the problem with additional options to identify calls and messages from unknown sources. They work as advertised, but because everyone receives calls from unknown numbers (your doctor’s new line, or that person you exchanged numbers with at a party) and messages from unknown senders (two-factor authentication codes, notifications from a food truck that your order is ready), it’s not necessarily an easy decision to enable these options. When they’re turned on, it’s easy to miss important calls or messages when they come in, and if you don’t know where to look, you may never realize they arrived at all.
Only you can decide if the peace from not being inundated with spam calls and messages is worth the risk of missing something important. Here’s what you need to know about filtering unknown callers in Phone and unknown senders in Messages. We’ll focus on the iPhone apps here, but the interfaces are very similar on the iPad and Mac.
Unknown Callers in the Phone App
Apple offers several new ways to deal with unknown callers before they ring through and afterward, for calls you don’t pick up. Configure these options in Settings > Apps > Phone:
- Screen Unknown Callers: To control calls before they ring through, choose either Ask Reason for Calling or Silence. Our experience is that asking callers for information works only on real people—telemarketers just hang up. Silencing unknown callers is effective, but it also means you’ll miss some legitimate calls.
- Call Filtering: Enable these switches to move missed calls and voicemails from unknown callers to the Unknown Callers list, or even the Spam list if your carrier identifies the call as spam. These lists are accessible from the Phone app’s Filter menu.

When the two Call Filtering switches are enabled, two new lists appear in the Filter menu ➊, accessible by tapping the Filter button in the upper right. In Unknown Callers, each call displays Delete and Mark as Known buttons. Marking a call as known ➋ moves it and future calls from that number to the main Calls list; deleting a call (and optionally reporting it as spam) ➌ maintains it as unknown for future calls. We haven’t seen any calls identified as spam yet, so we don’t quite know what that screen looks like.

Our advice:
- If you’re concerned about missing potentially important calls, set Screen Unknown Callers to Never and turn off both Call Filtering switches.
- As a middle ground, choose Ask Reason for Calling and turn on Spam but not Unknown Callers.
- If you hate unwanted calls and don’t care if you miss the occasional legitimate call, turn on Ask Reason for Calling or Silence and select both switches.
Unknown Senders in the Messages App
Messages are easier to screen and filter than phone calls because they don’t occur in real time. In Settings > Apps > Messages (below left), you’ll find:
- Screen Unknown Senders: This option creates a separate Unknown Senders list and hides those conversations from your main list.
- Filter Spam: Enable this switch to separate explicit spam and junk messages into a Spam list. Apple’s spam filtering seems to be accurate, if conservative.
When Screen Unknown Senders is on, two additional options become available:
- Allow Notifications: Should you be notified when a message from an unknown sender arrives? It depends on the message, and Apple lets you allow or block four types: time-sensitive messages, messages from individuals rather than organizations, transactional messages, and promotions (below center).
- Text Message Filter: Turning on the Screen Unknown Senders and Spam switches is sufficient to create Unknown Senders and Spam lists in Messages. What the Text Message Filter setting (below right) does, when enabled, is create lists for Transactions and Promotions, and sub-lists for Finance, Orders, and Reminders under Transactions.

In the Messages app, tapping the Filter button at the top right reveals all the available lists. Note that the lists are exclusive—if a message appears in Promotions or Spam, for instance, it won’t also be in the main Unknown Senders list. It also seems that the more granular filtering enabled by the Text Message Filtering setting applies only to new messages, not existing messages, so you won’t see much in there to start.

Our advice: How much of a difference these settings will make to you depends on how heavily you use Messages. For those who receive relatively few messages from unknown senders, it’s probably worth keeping only the Filter Spam setting on. As that number increases, we recommend turning on Screen Unknown Senders and enabling at least Time Sensitive, Personal, and Transactions for notifications. Make sure to check the Unknown Senders list regularly to make sure you’re not missing anything. Only those who are drowning in text messages from unknown senders should turn on Text Message Filtering to get the more granular filtering—it’s just fussier than necessary for most people.
One final note. The Phone and Messages apps on the iPhone, iPad, and Mac all have these settings, and you must set them individually on each platform. It’s best to ensure each platform displays the same lists; otherwise, you might have trouble finding the same message across devices. Also, if you have devices that aren’t yet running iOS 26, iPadOS 26, or macOS 26, you’ll still receive Messages notifications from unknown senders that are otherwise silenced on the newer operating systems.
(Featured image by iStock.com/fadfebrian)
Social Media: Buried by spam calls and texts—but worried about missing something important? Learn how Apple’s new Phone and Messages apps can screen and filter calls and texts without causing you to miss that doctor’s call or delivery text.
by Steve Sorbo | Nov 7, 2025 | Uncategorized
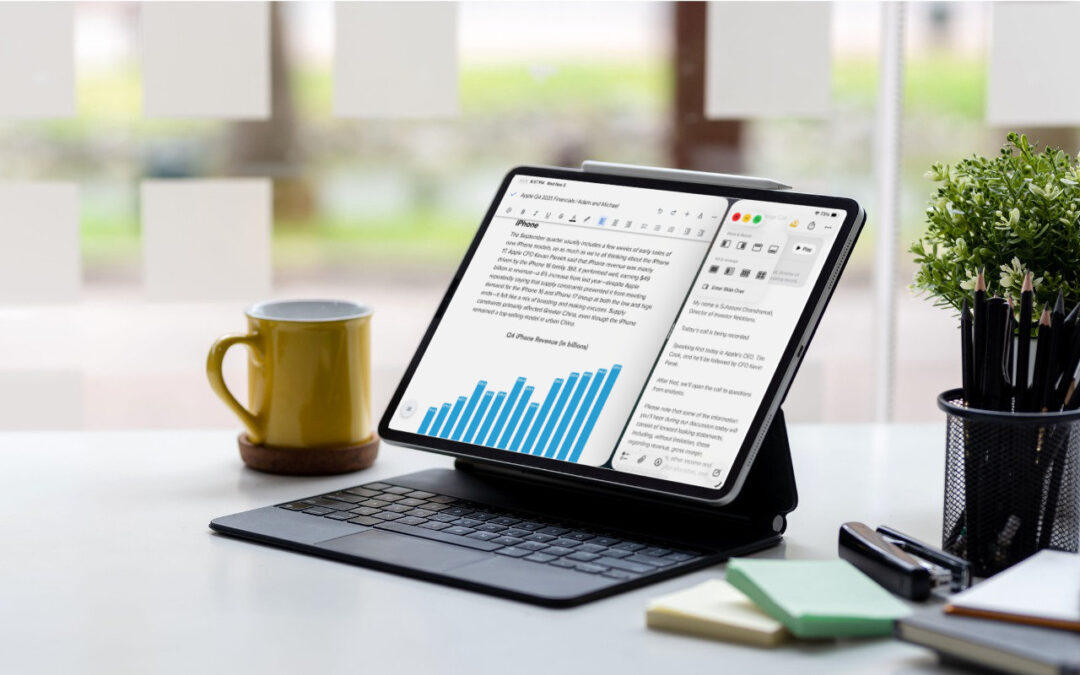
When the iPad debuted, it was essentially a large iPhone. But classic productivity tools rapidly made their way to the iPad, and over the years, Apple has introduced multitasking features, such as Slide Over and Split View, to make it easier to work back-and-forth between apps—imagine writing in Pages while referring to a Web page, or entering data from a PDF into a Numbers spreadsheet.
In iPadOS 26, Apple acknowledged that many of those efforts fell short of user expectations and completely revamped the iPad’s multitasking, basing it mainly on the windowing approach we’re all accustomed to on the Mac. Even better, if you prefer the traditional one-app-at-a-time approach, you can stick with that entirely.
Here’s how to get started with windowed apps in iPadOS 26.
Turn on Windowed Apps
When you upgrade to iPadOS 26, you’re prompted to turn on windowed apps, but you can always turn the feature on or off later in Settings > Multitasking & Gestures.

Switch Between Apps
Switching between windowed apps relies on approaches familiar from the Mac and previous versions of iPadOS. You can:
- Switch from the Home Screen: If you’re not already there, swipe up from the bottom of the screen, and then tap an app icon on the Home Screen. Swipe right to see more Home Screen pages or get to the App Library, which holds all apps.
- Switch from the Dock: Either swipe up from the bottom edge of the screen to return to the Home Screen or swipe up just far enough to reveal the Dock, then tap the desired app. Tap the rightmost icon on the Dock to reveal the App Library.
- Switch by swiping: Just as on the iPhone, swiping right or left on the bottom of the screen switches you between recent apps. Or you can swipe right or left with four or five fingers.
- Switch using Exposé: Swipe up from the bottom of the screen, pause in the center, and lift your finger to activate Exposé, which shows all open apps (and windows, if an app has more than one open). Swipe right or left to see more. Tap an app to switch to it. If you have an external keyboard, you can press the Exposé key or Globe-Up Arrow to enter Exposé.

Work with Windows
By default, even in windowed apps mode, apps open full-screen. But now you can do much more, just like you do on the Mac. iPadOS windows now have the same traffic light buttons as macOS windows, and they work the same way. If you don’t see them in a full-screen app, swipe down from the top of the screen to see the controls in the menu bar.
- Resize windows: Drag any window corner to resize. You’ll see a handle only in the bottom-right corner, but any corner works. Or touch and hold the traffic light buttons and choose a Move & Resize option. When windows are arranged, you can drag the slider between them to adjust their sizes.

- Move windows: Drag the top edge of a window. You can drag it partially off-screen to make more room.
- Close windows: Tap the traffic light buttons to expand them, and then tap the red Close button to close the window for good.
- Minimize windows: Tap the traffic light buttons, and then tap the yellow Minimize button to hide the window. You can also start dragging a window, and then flick it into the Dock.
- Reveal hidden windows: Touch and hold the app’s icon in the Dock, and then choose a window from the Open Windows part of the menu. Alternatively, choose Show All Windows and then tap the desired window.
- Zoom windows: Tap the traffic light buttons, and then tap the green Zoom button. Or just drag a corner of the window to expand it until it occupies the entire screen.
- Arrange windows: Touch and hold the traffic light buttons, and then choose a Fill & Arrange option. Alternatively, to put two windows side by side, start dragging a window and flick it to the side of the screen. Then flick another window to the other side.
- Open new windows: Touch and hold the app’s icon in the Dock, and choose New Window.
Too much to remember? Although most of these techniques are nearly identical to how things work on the Mac, there’s another Mac-inspired interface element to help: the menu bar.
Use the Menu Bar
To reveal the menu bar for the app you’re in, swipe down from the center of the screen. (This gesture works differently on the Home Screen, where swiping down from the middle reveals Notification Center instead.) If you’re using a trackpad or other pointing device, you can also move your pointer to the top of the screen.
Every app will have a menu bar, but only those updated for iPadOS 26 will have custom menus; everything else will use standard menus like File, Edit, Format, View, Window, and Help. Apps tend to offer roughly the same menu items as they have on the Mac.
Using the menu bar works just like it does on the Mac: tap a menu to open it, and then tap an item to choose it. For those getting used to windowed apps in iPadOS 26, the big win is the Window menu, which lays out all the options discussed above.

Use Slide Over
In the initial release of iPadOS 26, Apple removed Slide Over, which allowed the user to keep a window floating over other apps and move it off-screen and back easily. After an outcry from iPad users accustomed to using it as a place to stash reference materials and other windows they wanted quick access to, Apple brought Slide Over back in iPadOS 26.1.
To put a window into Slide Over, swipe down to reveal the menu bar, tap the traffic light buttons, and choose Enter Slide Over. Once a window is in Slide Over, you can flick it to either the right or left side of the screen to hide it—a little handle briefly reminds you it’s there—and swiping in from that side of the screen reveals the Slide Over window again. Slide Over windows can be resized like any other window by dragging a corner. Only one app can be in Slide Over at a time; choosing Enter Slide Over in a different app replaces the current Slide Over app. You can also touch and hold the traffic light buttons in the Slide Over app and choose Exit Slide Over to make it a standard window again.

If iPadOS 26’s new approach to multitasking feels like it will improve your iPad productivity, and you don’t already have them, consider adding a keyboard and trackpad. The combination of faster typing, more precise pointing, and Mac-like multitasking can go a long way toward improving your iPad workflows.
(Featured image based on an original by iStock.com/AmnajKhetsamtip)
Social Media: iPadOS 26 finally brings Mac‑style multitasking to the iPad. Learn how to enable windowed apps, use the new menu bar, work with windows, and master Slide Over (back in iPadOS 26.1) for faster workflows.

Recent Comments