
by Steve Sorbo | Jan 3, 2025 | Uncategorized
In macOS 15.2 Sequoia, Apple added the option to display the current weather conditions in the menu bar but hid the switch deep in the bowels of System Settings. To turn this option on, open System Settings > Control Center, scroll to the bottom, and in the Menu Bar Only section, for Weather, choose Show in Menu Bar. A new item with the current conditions at your location will appear in the menu bar; click it to see the forecast and access other locations in Apple’s Weather app.

(Featured image by iStock.com/trangiap)
Social Media: In macOS 15.2 Sequoia, you can display the current weather conditions in your Mac’s menu bar. Here’s how to enable that feature.

by Steve Sorbo | Jan 3, 2025 | Uncategorized
By default, Microsoft Office apps—Word, Excel, and PowerPoint—try to save files on Microsoft OneDrive as a way of promoting the company’s cloud storage. If that’s undesirable, you can easily keep your files locally on your Mac or in a different cloud storage location. In the Save dialog, click the On My Mac button to switch to a standard Save dialog showing all your other storage options. There’s no way to set On My Mac as the default location, but the Save dialog automatically remembers your last saved location. That should be sufficient most of the time, although it’s not unheard of for an Office update to flip the Save dialog back to OneDrive.

(Featured image based on an original by iStock.com/pzAxe)
Social Media: Microsoft Office apps save documents in the cloud-based OneDrive by default, but you can easily switch to saving files elsewhere. The apps generally remember your change but may forget after an update.
by Steve Sorbo | Jan 3, 2025 | Uncategorized
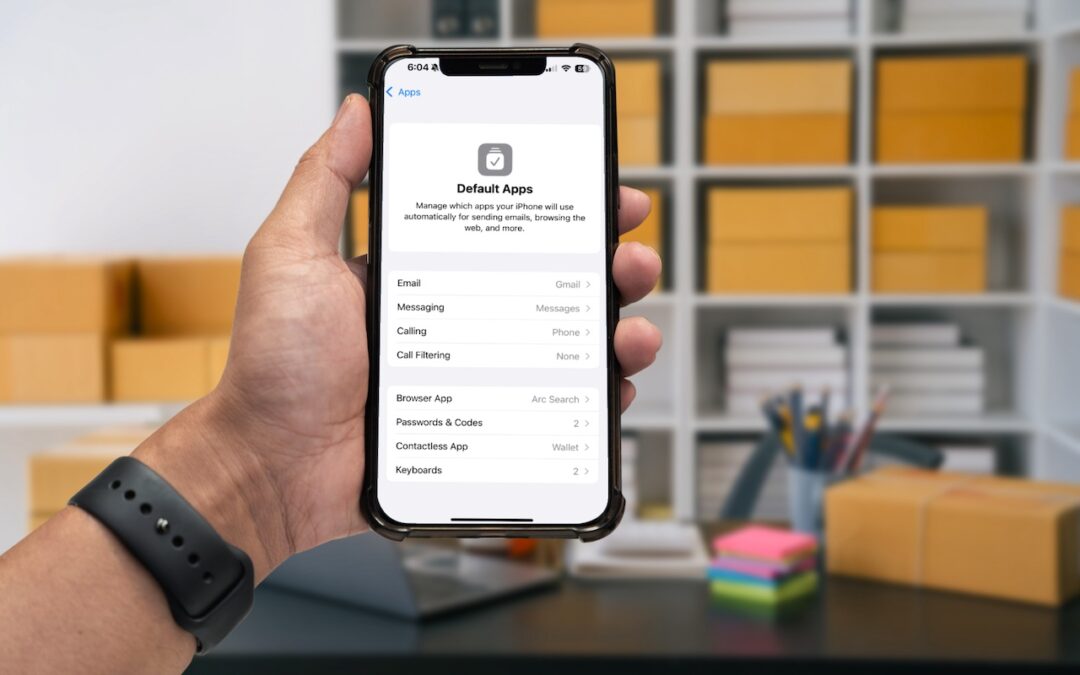
An unheralded feature in iOS 18.2 and iPadOS 18.2 helps you manage the default apps on your iPhone and iPad. A default app is one that opens automatically for a particular function, like opening a Web link or inserting a saved password. Previously, the only way to change a default app was within the settings for that app, but now you can go to Settings > Apps > Default Apps to see and set all your options in one place. The Calling and Messaging options are new in 18.2, but Apple hasn’t yet given any third-party apps permission to appear in those lists. This new screen isn’t that big of a deal, but we wanted to use it as a reminder that alternatives to Mail and Safari might better fit your needs.

(Featured image based on an original by iStock.com/Thicha Satapitanon)
Social Media: Many people don’t realize they can choose alternatives to Apple’s Mail and Safari on the iPhone and iPad. A new Default Apps screen simplifies reviewing your options and changing your defaults.

by Steve Sorbo | Jan 3, 2025 | Uncategorized
The first set of Apple Intelligence features appeared in macOS, iOS, and iPadOS in October. Apple has now debuted the second set in the December releases of macOS 15.2 Sequoia, iOS 18.2, and iPadOS 18.2. Apple still considers them to be in beta, which is a nice way of saying that they may not work perfectly. However, they usually do what they promise.
Remember, Apple Intelligence features work only on a Mac with Apple silicon, an iPad with an A17 Pro or M-series chip, or an iPhone 15 Pro or any iPhone 16. Intel-based Macs and older iPhones and iPads can’t play. If you’ve been holding off on upgrading, this is a fine time to make the jump. Regardless, you must turn on Apple Intelligence, which you do on the Mac in System Settings > Apple Intelligence & Siri and in Settings > Apple Intelligence & Siri on the iPhone and iPad.
What can you look forward to with this second set of Apple Intelligence features?
Image Playground Helps Make Fun Images
With Image Playground, Apple is dipping its toe into AI-driven image generation. The standalone Image Playground app lets you create amusing images with text descriptions, either starting from scratch or from a photo. You can choose from two styles: Animation, which Apple describes as “a modern 3-D animated look,” and Illustration, which “offers images with simple shapes, clear lines, and colorblocking.” (A third Sketch style will appear in a future release, and you can use ChatGPT in Writing Tools to create images in many other styles.) You can also create images directly in Messages, Freeform, Keynote, and other apps.
Once you’ve entered a few words of description or selected a person, you can embellish the image by tapping the buttons for suggested themes, costumes, accessories, and places. Each addition causes Image Playground to generate a new image, and swiping left on that image pushes it to try again. Tap the ••• button to save or share an image you like. Saved images become available on all your devices.

Genmoji Spice Up Chats on the iPhone
Less ambitious but potentially more fun are Genmoji, which are custom emoji that you create with text descriptions. Want to emote about the cold to a fellow musician? Create an emoji featuring two cellos wearing scarves.
To do this, switch to the emoji keyboard, tap the Genmoji button to the right of the search field, and describe your desired emoji. As with Image Playground, you can keep swiping left on the generated image to create more variations. When you get what you like, tap it to insert it into your chat or document.

Remember that a single emoji sent by itself in Messages is quite large; two or three emoji are medium-sized, and inserting any more than that or adding text causes them to display at the smallest size.
Created Genmoji are added to your emoji collection on all your devices, but they’re actually stickers. You can remove them by tapping the ⊕ button in Messages, tapping Stickers, and using touch-and-hold on a Genmoji to access the Remove button. You can’t create Genmoji in macOS right now, but Apple has promised that feature for a future release.
Image Wand Cleans Up Apple Pencil Sketches
In iPadOS 18.2, the Notes app now offers an Apple Intelligence-powered Image Wand tool for those taking notes with an Apple Pencil. Make a rough sketch with your Apple Pencil, select Image Wand, draw a circle around your sketch, and Image Wand will turn it into a polished image. If your circle also contains text, Image Wand considers it when building the final image.

Visual Intelligence Explains What You See
When you upgrade to iOS 18.2 on an iPhone 16, the Camera Control button gains a new capability: Visual Intelligence. Press and hold it (whenever the Camera app isn’t already open, since that will trigger video recording), and Visual Intelligence presents Ask and Search buttons on either side of the shutter button. Tapping Ask causes ChatGPT to describe the image and lets you pose follow-up queries, and tapping Search performs a Google reverse image search; tap any of the results to load it. (If you can’t immediately tap Ask or Search, press the Camera Control button again or tap the shutter button to freeze the image temporarily.)

Siri Channels ChatGPT
Perhaps the most anticipated enhancement to Apple Intelligence is the integration of ChatGPT into Siri. Unfortunately, if your goal is to converse fluidly with ChatGPT, you may be better off using OpenAI’s ChatGPT app, perhaps triggered by the Action button or a widget. The problem is that unless you explicitly direct a Siri query by starting with “Ask ChatGPT,” Siri may try to answer with its own Web search or trigger a command, leading to inexplicable and unhelpful responses. Even when you get Siri to ask ChatGPT for a response, there’s no option to have it read back to you aloud, as with ChatGPT’s Advanced Voice Mode.
If you want to use ChatGPT through Siri, turn the feature on in Settings > Apple Intelligence & Siri > ChatGPT. While you’re there, you’ll probably want to turn off Confirm ChatGPT requests, which otherwise ask if you want to use ChatGPT every time it comes up. Although it may not be obvious, once you’re in a conversation with ChatGPT, you can keep talking as long as the Siri animation continues around the edge of the screen. Unfortunately, you cannot scroll back to any previous response while Siri is channeling ChatGPT; for full transcripts, you must revert to the ChatGPT app or website.

ChatGPT Enhances Writing Tools
The final place ChatGPT appears in Apple Intelligence is in Writing Tools, which may be more useful than its Siri integration. The new Compose option leverages ChatGPT to generate content wherever you’re writing, and you can also use it to create images using ChatGPT’s image-generation capabilities. Writing Tools also now allows users to request their own changes to selected text (including recasting it as a haiku, for example) instead of relying solely on the canned options to make the text friendlier, more professional, or more concise.
To do this, bring up Writing Tools in any app (by choosing Edit > Writing Tools > Show Writing Tools or Control-clicking selected text and choosing from the Writing Tools menu). Tap Compose and describe what you want ChatGPT to create. If it’s not quite what you want, which is likely, keep asking for refinements or go in a different direction.

What’s Next for Apple Intelligence?
Although this second wave of Apple Intelligence features largely fulfills Apple’s main promises, a few major additions remain for 2025. Most notable are significant changes to Siri that will enable it to take your personal context—your email, messages, and photos, for instance—into account. Siri will also gain onscreen awareness to include what you see in its responses. Finally, Apple is giving Siri access to hundreds of new actions in Apple and third-party apps, which should make it more capable of acting on your behalf. The other notable upcoming change is Priority Notifications, which will evaluate the notifications from all your apps and help you focus on the most important ones.
We also hope Apple will continue to refine and improve the existing Apple Intelligence features. While they’re well integrated into the overall Apple experience, they seldom measure up to ChatGPT, Claude, Gemini, and other leading AI systems.
(Featured image by Apple)
Social Media: We look at the latest wave of Apple’s AI features and help you start using them for discussions with ChatGPT, creating images, making custom emoji, learning about your environment, and more.
by Steve Sorbo | Jan 3, 2025 | Uncategorized
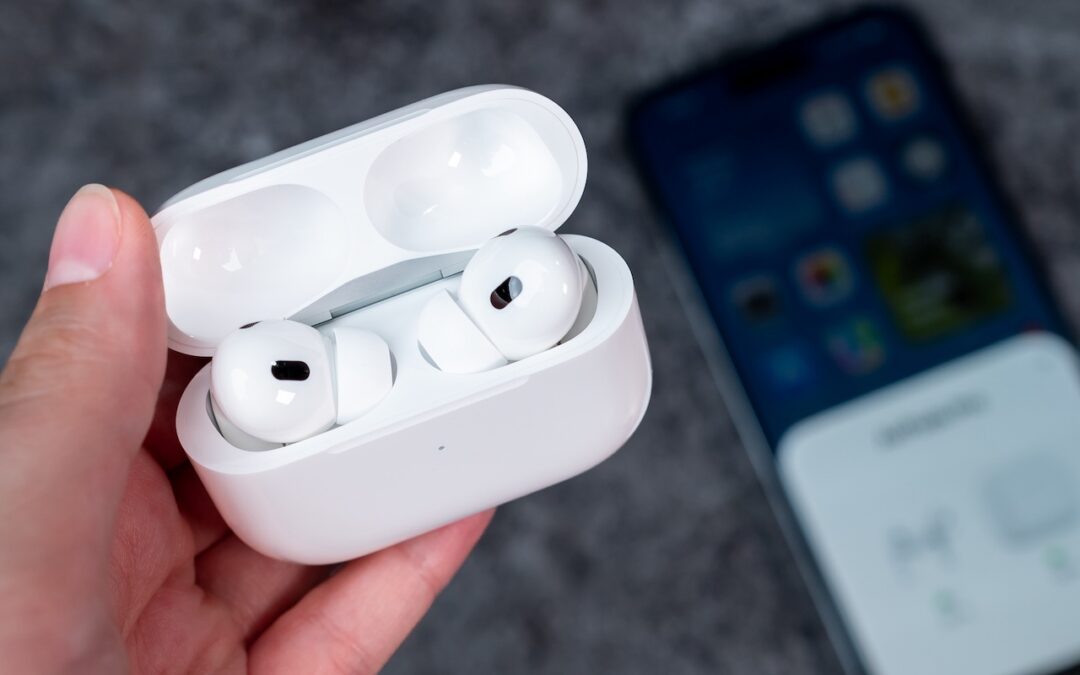
For many, Apple’s AirPods are just another pair of earbuds: a convenient way to listen to media. But with the latest versions of iOS and automatically applied firmware updates, the AirPods Pro 2 have become significantly more interesting.
They have long had noise cancellation features, which we find helpful in open office environments and for turning down the volume on everything from airplanes to vacuum cleaners. The more recent addition of Adaptive mode, which bridges between Transparency and Noise Cancellation modes and changes with your surroundings, makes them useful in dynamic urban environments. The Loud Sound Reduction feature can be a godsend at concerts where the music would otherwise be painfully loud. Personalized Volume adjusts the volume of media in response to your environment, and although it can be a bit disconcerting, Conversation Awareness drops the media volume and reduces background noise when you start speaking to others.
However, the newest and most important feature of the AirPods Pro 2 comes with iOS 18.1: Hearing Health. Many people don’t realize they have hearing loss, so Apple now provides a clinically validated Hearing Test and a clinical-grade Hearing Aid feature that can compensate for mild to moderate hearing loss. Even if you don’t think you have any hearing problems, we recommend taking Apple’s hearing test so you have a baseline to compare against future tests.
Here’s how to check your hearing and get started with the hearing assistance and protection features. Before you start, make sure you’ve paired your AirPods Pro with your iPhone and haven’t been exposed to loud noises for at least 24 hours. (It can take that long for your hearing to return to normal.)
Take a Hearing Test
The Hearing Test has three parts: setup, the actual test, and presenting the results. In the setup phase, the iPhone guides you through finding a quiet place to take the test, inserting your AirPods Pro correctly, and testing the fit.
The fit test is important because the AirPods Pro silicone ear tips help block outside noise, allowing the earbuds to boost or lower the volume of particular sounds or frequencies to improve audio clarity. The AirPods Pro come with four sizes of ear tips, from extra small to large (medium is the default), and the fit test helps you determine which ear tip best combines efficacy and comfort.
To start the test, open the iPhone’s Settings app and tap the name of your AirPods Pro—that option appears only when the case is open or they’re in your ears. In the AirPods screen, tap Take a Hearing Test. The test involves tapping the screen every time you hear a pulse of three tones. As a game, it’s boring but not easy—most people will probably be able to hear the first few tones, but subsequent ones become significantly more difficult to discern. Don’t worry if you miss a tone because you’ll have multiple chances to hear each one. The test focuses first on one ear and then the other.

At the end, the test presents your results. dBHL stands for decibels Hearing Level and indicates the softest sounds you can hear at various frequencies. If you have little to no hearing loss—dBHL under 20—there’s no need to do anything more. dBHL numbers between 20 and 40 suggest mild hearing loss and indicate that you may have difficulty hearing soft or distant sounds, such as whispers or quiet conversations. Numbers from 41 to 55 indicate moderate hearing loss, which can make it difficult to understand normal speech, particularly in loud environments. For higher levels of hearing loss, or if you’re experiencing noticeable problems, consult an audiologist.
Turn On Hearing Assistance
If your hearing test suggests mild to moderate hearing loss, the AirPods Pro Hearing Aid feature can help. It uses the hearing test results to adjust what you hear to improve voice and audio clarity. You can turn it on at the end of the hearing test if indicated, or at any time in Settings > AirPods Pro > Hearing Assistance. (If your results indicate little to no hearing loss, the trick to turning on the Hearing Aid feature is to tap “Learn About Hearing Aid” at the end of the test or by selecting a hearing test result and then tapping Next.)
Apple has created a particularly flexible solution here. In the Hearing Aid section, you can control whether the AirPods Pro adjust external sounds for greater clarity. To tweak the specifics, tap Adjustments and use the amplification, balance, tone, and ambient noise reduction sliders. The Conversation Boost switch enhances face-to-face conversations by focusing on the person in front of you.

Also helpful is Media Assist, which uses your hearing test results to improve music, podcasts, and other audio played through the AirPods Pro. Separate switches let you apply it to Music and Video along with Calls and FaceTime.
Improve and Protect Your Hearing
If you own a pair of AirPods Pro 2, we highly recommend that you take a hearing test and try the Hearing Aid feature. Even if you have little or no hearing loss, you may find that the Media Assist option makes your music sound better. It’s easy to test—just play a song you love (turn it on from Control Center) and toggle Media Assist on and off while it plays.
Also, we’ve started wearing the AirPods Pro in situations where we might not have thought to in the past. It’s obvious that the Noise Cancellation mode would be helpful on an airplane, but we also use it to block unwanted noises to aid our concentration at work. We’ve also found that Transparency and Adaptive modes can be helpful on city streets and in loud restaurants. Plus, because Loud Sound Protection is automatically enabled in Transparency and Adaptive modes, it lets us enjoy front row seats at a concert without worrying about our hearing or suffering from ringing ears the next day.
We know that AirPods Pro aren’t for everyone. Many people prefer the AirPods 4, which provide some noise cancellation without blocking the ear canal with silicone ear tips. But they can’t compete with the AirPods Pro for noise cancellation and lack the new Hearing Health features. Between the Hearing Test and Hearing Aid features and how the AirPods Pro can protect and enhance hearing, we think they will become a more common sight among older adults who otherwise wouldn’t consider wearing earbuds in public. If you have questions or concerns about your hearing, give them a try.
(Featured image by iStock.com/Julija Matuka)
Social Media: Apple’s AirPods Pro 2 can help you hear more—or less. We examine both possibilities and explain how easy it is to use the AirPods Pro to take a clinically validated hearing test and enjoy the new clinical-grade Hearing Aid feature.

Recent Comments