
by Steve Sorbo | Sep 5, 2025 | Uncategorized
Recently, we’ve fielded a spate of questions from people who have used an AI chatbot to help with a technical issue and then asked us to confirm whether the information was accurate, helpful, or even safe.
First off, we’re not offended. If you can work through simple problems on your own with the help of an AI chatbot, that lets us focus on helping you with the bigger picture and issues that can be solved only by someone with awareness of your physical setup or broad knowledge of your workflow.
However, the mere fact that we’re getting these questions shows that people aren’t entirely comfortable with the AI answers, which is a good thing. Because chatbots work by giving you the most statistically likely words from their training models or extracted from search results, they can sometimes return incorrect information that could be harmful or even damaging. And, of course, they’ll do so in a breezy, confident tone that doesn’t suggest any concern.
For instance, we’ve seen chatbots confidently suggest deleting files or resetting permissions from the command line (be very afraid of anything that starts with sudo), disabling System Integrity Protection (almost never necessary), turning off Gatekeeper to install unsigned apps, resetting iCloud Keychain syncing, and more.
Here’s how to think about those responses. First, if you sense that following the chatbot’s instructions might cause problems, ask it to explain potential concerns and how to address them. Also, if you don’t understand what it’s telling you to do, say so and ask it to restate the instructions in simpler terms for someone less experienced. After pushing the chatbot for more details, use your critical thinking skills to ask yourself if its instructions could lead to irreversible changes or data loss.
If you still have any hesitation after going through that process, then it’s time to contact us. It’s helpful to share your chatbot conversation with us so we can assess what it suggested and explain why there was no need to worry or why you were justified in checking before taking action that you might regret.
Although this may seem like a modern problem, we’ve seen many similar situations over the years, where people get fired up about an article they read in an airline seatback magazine or hear something from their brilliant nephew who’s getting a degree in computers from a very good college. Although there’s no intent to deceive from any of these sources (chatbots don’t have intent at all, much less any to deceive), technical advice only makes sense in the context of your goals and resources.
In fact, having conversations about AI suggestions can be helpful because they help you develop better technical judgment. We can help you understand the principles behind different technical solutions, highlight what details matter when evaluating recommendations, and build your confidence in knowing when to trust (or distrust) technical advice from any source. Think of it as collaborative problem-solving that makes you better equipped to handle future technical challenges, whether you tackle them independently or with our professional help.
For the record, chatbots can help you understand basic settings, find features in common apps, and interpret standard error messages. But whenever a suggested solution involves system-level changes or seems risky, that’s when you should contact us.
(Featured image by iStock.com/Valerii Apetroaiei)
Social Media: When should you trust an AI chatbot’s tech advice? Learn when chatbots can help with basic issues and when it’s time to call a professional for more complex problems.
by Steve Sorbo | Aug 1, 2025 | Uncategorized
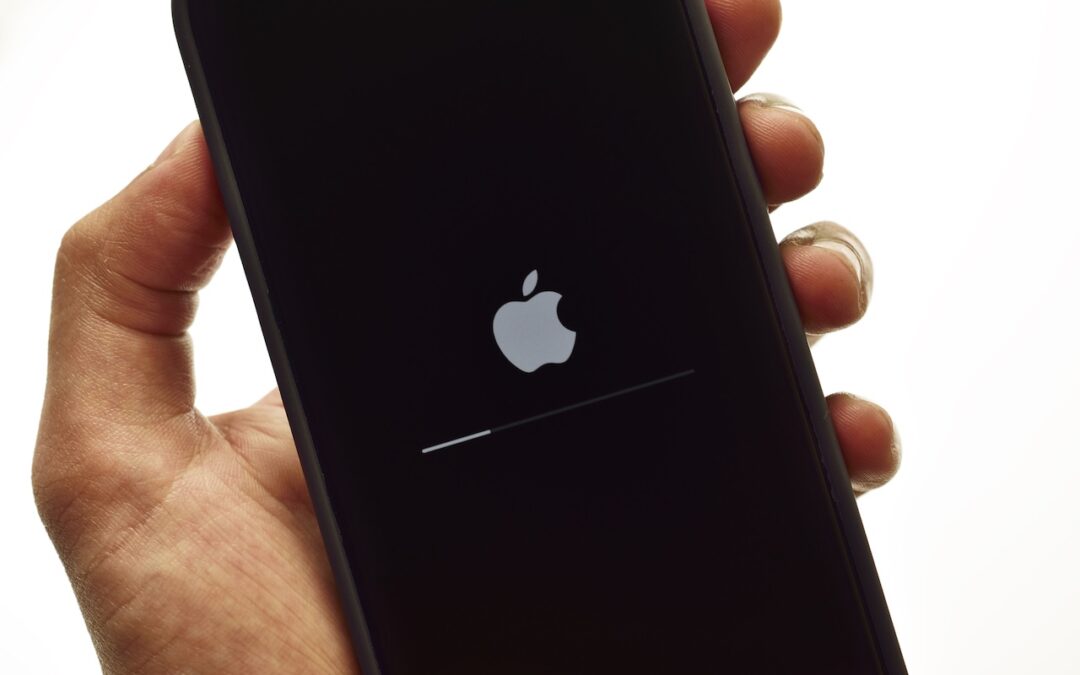
We hope you never need a new recovery option that Apple has added to the iPhone 16 and current iPad mini (with an A17 Pro chip). If a device gets stuck during an iOS or iPadOS update, you may see an animation of devices being moved close together, indicating that it’s in recovery mode. Apple’s new solution to a failed update involves attaching the device in recovery mode to power and placing it next to another unlocked device that’s connected to Wi-Fi and running iOS 18 or iPadOS 18. The working device will display a Restore Nearby iPhone/iPad message. Once you tap Continue and wait for the devices to connect, you’ll be asked to enter a six-digit code from the recovery device on the other device to share its Wi-Fi connection. Tap OK when you see the “Restoring iPhone/iPad” message. It’s best to have both devices connected to power while this is happening. If this new way to recover from a failed update doesn’t work, or if a different iPhone or iPad model has had trouble during an update, you can use a computer to restore the device.

(Featured image by iStock.com/stockforliving)
Social Media: If your iPhone 16 or A17 Pro iPad mini gets stuck during an update, Apple’s new recovery feature lets you use a nearby iPhone or iPad to get back up and running.
by Steve Sorbo | Aug 1, 2025 | Uncategorized
Although Macs are highly reliable, unusual problems can still rear their ugly heads. Often, these issues are caused by software you’ve installed or accessories you’ve connected. If you’re experiencing Mac misbehavior that isn’t easily fixed by restarting, updating software, or unplugging a dodgy device, try safe mode. (Seriously, before checking if safe mode will help with a problem, you should always restart, ensure you’re running the latest version of macOS and any involved apps, and unplug non-essential peripherals.)
Safe mode is one of macOS’s key troubleshooting tools, though many users don’t know when or how to use it. By starting up your Mac with minimal required software and services, safe mode can help identify and resolve various system issues.
How to Enter Safe Mode
The process for entering Safe Mode varies depending on whether you have a Mac with Apple silicon or an Intel-based Mac.
For Macs with Apple silicon:
- Shut down your Mac.
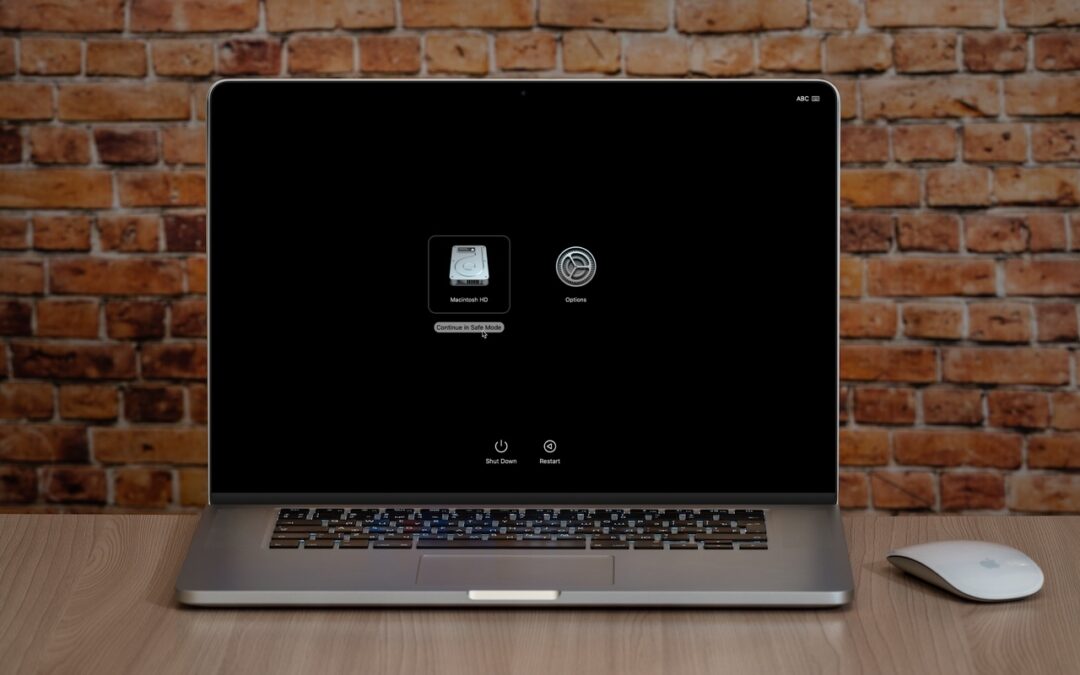
- Press and hold the power button until the startup options appear.

- Select your startup disk.
- Hold the Shift key and click Continue in Safe Mode.
- Log in (you may need to do this twice). You’ll see “Safe Boot” in red in the menu bar on the login screen.

For Intel-based Macs:
- Restart your Mac.
- Press and hold the Shift key until you see the login window.
(If you have a firmware password, you must remove it in Recovery before starting up in safe mode.)
To verify that you’re in safe mode, click the Apple menu while holding the Option key, select System Information, and look for “Boot Mode: Safe” under Software. To exit safe mode, just restart your Mac normally.

What Safe Mode Does
When your Mac boots in safe mode, it performs several important functions designed to eliminate troubleshooting variables:
- Prevents non-essential software from loading, including third-party login items, kernel extensions, system extensions (the modern replacement for kernel extensions), and fonts not installed by macOS
- Clears some system caches, including font caches and the kernel cache
Apple also says that safe mode performs a basic check of your startup disk, but research from the community suggests that this check is no different from the one performed during a normal boot. If you suspect disk-related problems, use the First Aid feature of Disk Utility to conduct a more comprehensive (and much slower) test.
This minimal environment helps identify whether the problems are caused by software that loads during startup or by core system components. Safe mode also prevents many customizations and modifications from taking effect, making it easier to determine if third-party software is the cause of the issues.
However, the downside of using safe mode is that some macOS features may not work. According to Apple, these include “video capture, graphics performance, file sharing, Wi-Fi, accessibility, audio devices, and devices connected via USB, Thunderbolt, or FireWire.” In practice, some of these will work fine, but the main point is that you might not be able to do everything you want while in safe mode. It’s designed for troubleshooting, not regular use.
When to Use Safe Mode
Safe Mode is beneficial in several common scenarios:
- Identifying extension conflicts: If your Mac is misbehaving, booting in safe mode can help determine if third-party kernel or system extensions are the cause.
- Troubleshooting startup problems: If your Mac doesn’t start normally, safe mode might help you get in and address the issue.
- Installing updates: Although this is less necessary in recent versions of macOS, if a macOS update fails to install properly, trying again in safe mode often resolves the issue.
- Fixing update issues: Problems that appear after a macOS update—likely caused by outdated third-party software incompatible with the new version of macOS—can often be resolved by starting in safe mode.
- Performance problems: If your Mac is running slowly, safe mode can help identify whether login items or extensions are causing the issue.
- General diagnostics: Safe mode is a worthwhile initial step for diagnosing issues before attempting more complex solutions.
What Comes After Safe Mode
Once you’re in safe mode, it’s up to you to reproduce the problem you experienced earlier. Then, there are two possibilities:
- The problem persists in safe mode: While this result is not ideal, safe mode has still provided you with more troubleshooting information by eliminating third-party login items, extensions, and fonts from consideration, along with clearing certain caches. Since those aren’t the cause, try testing in a clean user account, disconnecting remaining peripherals, and reinstalling macOS.
- The problem goes away in safe mode: Great! First, restart your Mac to see if the problem has disappeared, as would be the case if it were related to corrupt caches. If the problem returns after restarting, you can narrow down the cause to third-party login items, extensions, or fonts. Remove third-party log-in items in System Settings > General > Login Items & Extensions. (We recommend taking a screenshot with Command-Shift-5 first, so you can remember how you were set up.) You can also disable extensions in System Settings > General > Login Items & Extensions by toggling their switches. Restart and test again. If that still doesn’t fix it, try testing in a clean user account to rule out any software issues tied to your main account.
The beauty of safe mode is that it’s easy to enter and entirely non-destructive. It may not help identify all possible problems, but it’s always worth trying after the simple steps of restarting your Mac, updating associated software, and unplugging non-essential peripherals.
(Featured image based on an original by iStock.com/Armastas)
Social Media: Having Mac problems? Before trying more complex solutions, restart in safe mode—your Mac’s stripped-down troubleshooting environment. It disables non-essential software and clears system caches to help identify and resolve common issues.
by Steve Sorbo | May 2, 2025 | Uncategorized
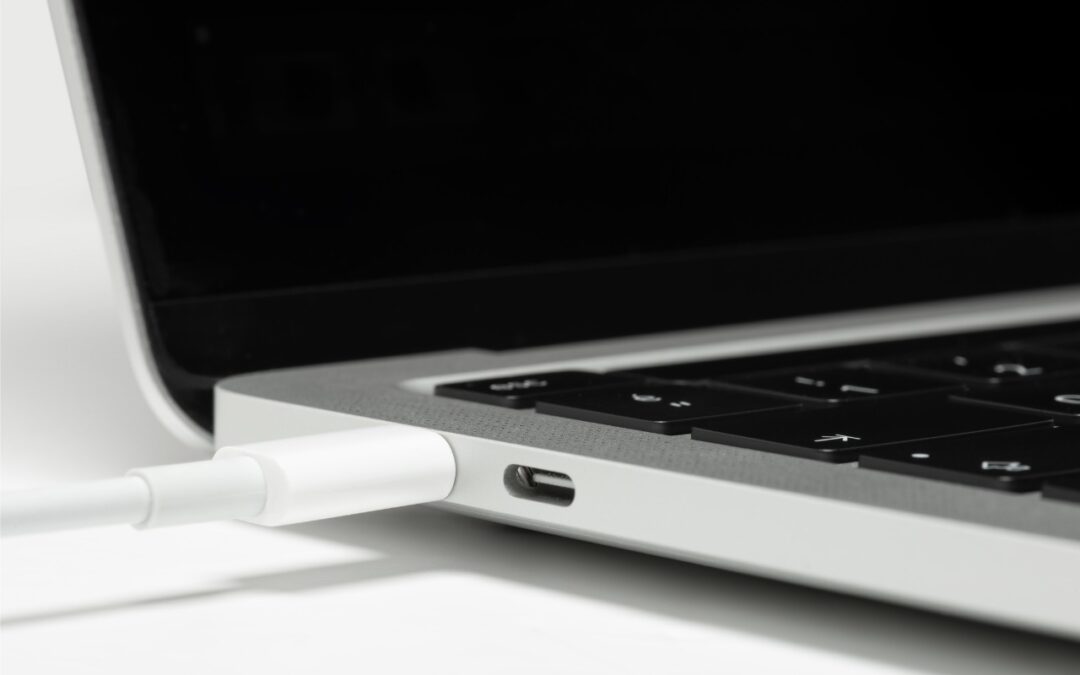
Booting from an external SSD (hard disks are too slow) provides a convenient way to test specific versions of macOS or troubleshoot problems with your Mac’s internal storage. However, a little-known gotcha has caused untold hair loss among those trying to boot from an external drive. Macs with Apple silicon cannot start up from external drives connected to their DFU (device firmware update) USB-C port. The only way to determine which port this is on a given Mac is to look it up on Apple’s website. If your Mac won’t boot from an external drive, connect it to a different USB-C port.

(Featured image by iStock.com/ardasavasciogullari)
Social Media: If your Apple silicon Mac won’t boot from an external drive, the issue may be related to which USB-C port you’re using—the special DFU port cannot be used for booting from external drives. Learn how to identify that port on your Mac.

by Steve Sorbo | May 2, 2025 | Uncategorized
We recently helped someone having trouble with 1Password requesting their password repeatedly on their iPad, but not on their iPhone. Since 1Password’s data syncs between devices, this person didn’t realize they needed to configure the app’s security settings separately for each device. It’s appropriate for 1Password to separate security settings—one device could be used in a much more sensitive environment than another—but it’s also easy to see how a user might be confused about the difference in behavior. All this is to say that if you are annoyed by an app or operating system behaving differently depending on the device you’re using, compare the settings and ensure they’re set appropriately for each device.

(Featured image based on an original by iStock.com/towfiqu ahamed)
Social Media: Is your app behaving differently on different devices? The culprit might be device-specific settings. To avoid frustration, check and synchronize your preferences across all devices to ensure consistent behavior where appropriate.

Recent Comments