
by Steve Sorbo | Jan 3, 2025 | Uncategorized
Apple provides a handy ecosystem-wide feature that replaces a typed abbreviation—say “eml”—with text you specify, like your email address. (Seriously, copy that one so you don’t have to type your email address repeatedly.) These automatic text replacements sync via iCloud so you can use them on the Mac, iPhone, and iPad. Find them on the Mac in System Settings > Keyboard > Text Replacements and on the iPhone and iPad in Settings > General > Keyboard > Text Replacement. They’re great, but it can be mysterious when they stop working on the Mac. The culprit? A menu item being turned off. So, if text replacements aren’t working in a particular app, choose Edit > Substitutions > Text Replacement to turn them back on.

(Featured image by iStock.com/tookitook)
Social Media: Apple’s built-in text replacement feature expands a short abbreviation you type into something longer, but a simple menu option can prevent it from working in a Mac app. Here’s how to fix it.
by Steve Sorbo | Nov 1, 2024 | TCN Content
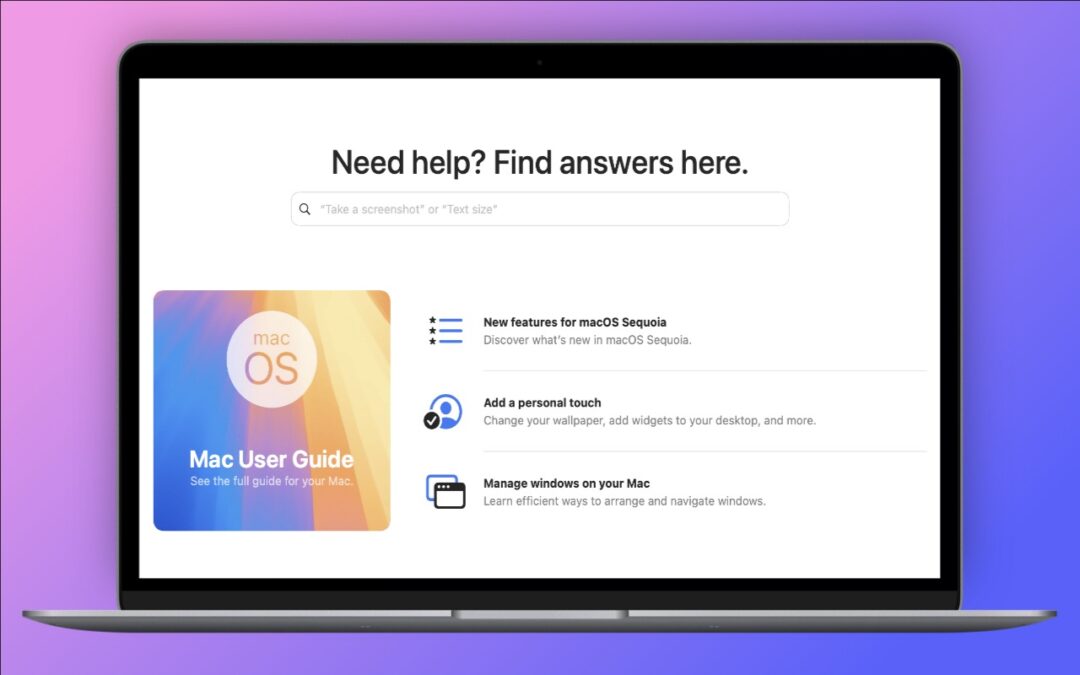
Apple has included the Tips app with the iPhone and iPad since iOS 8 in 2014 and on the Mac since macOS 10.14 Mojave in 2018. Initially, it didn’t contain much useful content, and many longtime users ignored it. However, Apple has significantly increased the amount of information in Tips over time, adding device-specific tips, full device and app user guides, highlights of new features, and more. Many tips even include short demonstration videos. Tips is worth exploring or referring to the next time you have a question. Be sure to encourage anyone you know who’s new to the iPhone, iPad, or Mac to take a look—it even helps them practice key gestures!

(Featured image by Adam Engst)
Social Media: If you haven’t explored Apple’s Tips app on the iPhone, iPad, or Mac recently, check it out. Apple has added a lot more content, including device and app user guides, highlights of new features, and interactive practice guides.

by Steve Sorbo | Oct 1, 2024 | TCN Content
Macs are much more reliable than in the past, but it remains the case that computers and apps can fail in a wide variety of ways. And they’ve become so integral to daily life that an occasional failure is almost inevitable. Unfortunately, if you aren’t prepared for that eventuality, you may lose work and suffer from unnecessary downtime. A little forethought can significantly minimize the impact of app crashes, lost connectivity, storage failures, and overall hardware hiccups.
App Failures
The most common problems occur in apps, where you have to worry about crashes and file corruption. (Cosmetic bugs and broken features are annoying, but apart from reporting them, there’s nothing you can do about them and they shouldn’t cause you to lose work.) To protect yourself from crashes and corruption, we recommend the following:
- Save new files immediately: Although many apps auto-save, not all do. Whenever you start a new file, save it immediately and frequently as you work. That way, a crash can’t cause you to lose everything you’ve done.

- Use always-on backup software: Backup software like Time Machine and Backblaze run throughout the day, making versioned backups that let you restore earlier versions of a file. Those backups can be a lifesaver if your document becomes corrupted.
- Make manual versions of critical files: For documents where losing work would threaten your continued employment, we recommend making manual versions at least daily, preferably on a cloud storage service. Append a version number to each file, and keep all the versions until you complete the project.
Connectivity Failures
As more of our work has moved online or requires access to online resources, always-available connectivity has become necessary. Many people feel incapable of getting things done without Internet access. Here are some workarounds:
- Be able to switch between Wi-Fi and Ethernet: If one method of connecting to your local network fails, switching to the other can let you get on with your work with minimal interruption. A wireless access point failure could send you to wired Ethernet, or Ethernet cable damage could make Wi-Fi the only option. One shortcut for this is to keep both network adapters active in System Settings > Network, so the Mac can use either.

- Turn on a personal hotspot: If your Internet connection goes down, the fastest way to get your Mac back online may be to connect to your iPhone’s personal hotspot. Set it up in Settings > Cellular > Personal Hotspot and choose it from your Mac’s Wi-Fi menu.

- Identify a public hotspot: Assuming you have a Mac laptop, the better part of valor may be to go somewhere with Internet access, whether a coffee shop, the public library, or the house of a friend or family member. If your problem falls outside business hours, you might even be able to access a public network from a nearby parked car.
- Purchase backup networking hardware: Organizations should maintain backups of their networking gear. In the event of hardware failure, being able to swap a backup router, access point, switch, or cable into place will minimize downtime. Make sure to record your networking configurations so you can configure the new devices quickly.
Storage Failures
Historically, the most failure-prone aspect of a Mac was its hard drive because of its moving parts and insanely tight tolerances. Flash storage used by solid-state drives is far more reliable and resilient to physical bumps and drops. However, it’s still in constant flux as macOS and apps constantly read and write data, so software bugs can result in directory errors and other forms of corruption. We recommend a three-part backup strategy to protect against storage failures—make sure to dedicate drives for backups rather than using them for general storage.
- Back up with Time Machine: Time Machine works well and is tightly integrated into macOS. Use it to create versioned backups of your data so you can restore either individual files or your entire drive.

- Make nightly duplicates: Bootable duplicates that could take over for a dysfunctional boot drive used to be an essential part of a Mac backup strategy, but the difficulty of making them and booting a Mac from an external drive has reduced their utility. Nevertheless, the fastest and easiest way to restore data is often by copying it from a duplicate. Duplicates also provide secondary backups if something were to go wrong with your Time Machine drive. Carbon Copy Cloner and SuperDuper are the most popular backup apps for duplicates.

- Maintain Internet or offsite backups: In the event of fire, flood, or theft causing the loss of both your Mac and your backup, an offsite backup is a must. The easiest and most reliable method of making a backup somewhere else is an online backup service like Backblaze or Crashplan.

Overall Mac Failures
Macs may be reliable, but they’re still vulnerable to physical damage, particularly laptops you carry with you all the time. Bumps and drops can damage a screen or internal connectors that connect the keyboard and trackpad. You can do a few things to minimize the impact of a broken Mac.
- Use the desktop/laptop approach: Although Mac laptops are powerful and expandable enough for all but the most intensive tasks, supplementing a powerful desktop Mac with a less expensive laptop gives you more flexibility and provides a backup if your primary Mac fails.
- Maintain an extra keyboard, trackpad, and display: Getting your work done requires a functional keyboard, trackpad or mouse, and monitor. If any of those accessories were to fail, having an extra one around would let you get back to work with minimal fuss.
- Keep an old or extra Mac as a backup: Those relying on a single Mac should consider keeping an older Mac around as a backup if you have to send your current Mac to Apple for repair. This approach works only if your old Mac can run your current apps. An organization might maintain a backup Mac that could be temporarily swapped in for any employee’s broken Mac.
- Borrow a Mac from a colleague, friend, or family member: If you don’t have an extra Mac that’s sufficiently capable for your work needs, perhaps someone you know does. It’s easy to create a new user account that will keep your data and theirs separate and private. Start in System Settings > Users & Groups.
- Remember Apple’s 14-day return policy: If all else fails, remember that you can buy a Mac from Apple (in person or online) and return it with its included accessories and packaging within 14 days for a full refund. It’s a generous policy that shouldn’t be abused, but it could be a lifesaver if you’re under deadline when your Mac dies.
Of course, you’re welcome to call us for advice about working around any of these tech failures, but these suggestions should get you back in the saddle quickly and with minimal loss of work.
(Featured image by iStock.com/fizkes)
Social Media: Macs may be more reliable than ever, but they still suffer from hardware and software failures. Follow our advice to minimize the impact of inevitable failures.

by Steve Sorbo | Aug 1, 2024 | Uncategorized
When you connect to a public Wi-Fi network at an airport, hotel, coffee shop, or school, you may need to interact with a captive portal login page to be granted access to the network. It might require you to enter login credentials, ask for your name, or make you agree to terms of service. But what if that login page doesn’t appear, or something kicks you off the network and you can’t reconnect? In Safari, navigate to captive.apple.com, which should force the captive portal to display its login page again. If that doesn’t work, remove any custom DNS servers and restart. On the Mac, find custom DNS servers in System Settings > Network > Wi-Fi > Details > DNS. On an iPhone or iPad, go to Settings > Wi-Fi > Network Name > Configure DNS and choose Automatic.

(Featured image based on an original by iStock.com/CreativaImages)
Social Media: When you connect to a public Wi-Fi network, you often must authenticate or agree to terms on a captive portal login page. Here’s the solution if that page doesn’t appear.

by Steve Sorbo | Aug 1, 2024 | Uncategorized
Under the hood, macOS relies on Unix, which is a multi-user operating system. That’s why a Mac can host multiple users who, as long as they don’t know each other’s passwords, cannot see each other’s files. To maintain each user’s privacy, macOS relies on permissions that specify who can do what with any given file or folder. For the most part, permissions work how they’re supposed to, letting you work with all your files and keep any other users on the Mac out of your stuff.
Where things can get tricky is with external drives. In some situations, permissions can prevent you from accessing files written to an external drive on one Mac from another Mac. That happens because the first admin user account created on a Mac is given the UniqueID of 501, regardless of its name. (Because, Unix.) If you create additional accounts, they get UniqueIDs of 502, 503, and so on. Again, the names are irrelevant; all that matters is the UniqueID.
If you write files to an external drive while logged into the 501 admin account on one Mac but then try to access those files from an account with any other UniqueID on that Mac or any other, macOS won’t let you. No 503 account, for instance, can access a 501 account’s files.
There are tweaky Unix solutions to this problem, but Apple realized this would be an issue from the early days of Mac OS X and provided a single-click solution: the “Ignore ownership on this volume” checkbox. When selected, it tells macOS to pay no attention to permissions for all the files and folders on a drive, regardless of what that might mean.
To access this setting, select the drive in the Finder, choose File > Get Info, and expand the Sharing & Permissions section at the bottom. Before you can select the checkbox, click the lock icon and enter your admin password when prompted.

There are three scenarios where enabling “Ignore ownership on this volume” is helpful:
- Multi-user access: Imagine that you share a Mac with family members or colleagues. You want to keep your email and text message conversations private but need to share numerous other large files stored on an external drive. (For just a few files, use the Shared folder alongside your user folders.) By enabling “Ignore ownership,” you can be certain that all users of the Mac can do whatever they need to with those files.
- Access from multiple Macs: Suppose you have a portable SSD containing video files you want to display from any Mac. Perhaps they’re canned business presentations or home videos. Since you cannot know what the UniqueID of the current account on any given Mac will be, selecting “Ignore ownership” will ensure that you can open your videos regardless.
- Juggling user accounts: Although it’s a bad idea to do this willy-nilly, some people regularly create and delete accounts for their own use. Since all the accounts are used by a single person, they don’t think about permissions as an issue, but macOS does unless they select “Ignore ownership.”
In general, when using an external drive to move files between accounts, people, or Macs, select “Ignore ownership” to prevent pesky permissions problems.
But that doesn’t mean you should turn on “Ignore ownership” in every situation. There are some situations where enabling the setting would be inappropriate because it’s essential to preserve permissions:
- Boot drives: macOS itself relies on specific permissions and won’t even show the checkbox for boot drives. If you’re planning to install macOS on an external drive and use it to boot a Mac (Apple provides instructions), make sure not to select “Ignore ownership” before starting.

- Time Machine drives: Time Machine cares deeply about maintaining correct permissions, so you should not enable “Ignore ownership” on a drive that you plan to use with Time Machine. After Time Machine starts backing up to a drive, the “Ignore ownership” checkbox disappears.

- Bootable duplicates and other backups: Similarly, if you’re using Carbon Copy Cloner or SuperDuper to create a bootable duplicate of your boot drive, “Ignore ownership” must be unchecked. Retrospect also warns users to turn off “Ignore ownership” on backup and restore drives to ensure that permissions are preserved. Other backup apps likely have similar requirements.
One last thought. If you run into permissions-related problems reading files from an external drive, it’s worth enabling “Ignore ownership” to see if that resolves your issues. If it doesn’t, or if the problems keep cropping up in different contexts, contact us.
(Featured image based on an original by iStock.com/Rawpixel)
Social Media: Permissions are an essential aspect of the Unix underpinnings in macOS, but on some external drives, they can be problematic. Learn when you should and should not enable “Ignore ownership on this volume.”

Recent Comments